 Forma3D
Multi-color 3MF
Keep face colors through the export for multi-material slicer workflows.
Painting faces is how a single-color model becomes a multi-color print. In Forma3D you paint faces directly on the mesh, then use two automatic modes to tidy the paint job — merging tiny isolated islands or reducing the palette — before exporting a color-capable 3MF file.
Tutorial updated October 24, 2026 · Published by Forma3D · Screenshots show Forma3D on iPad. The same tools are available on iPhone; layouts may differ.
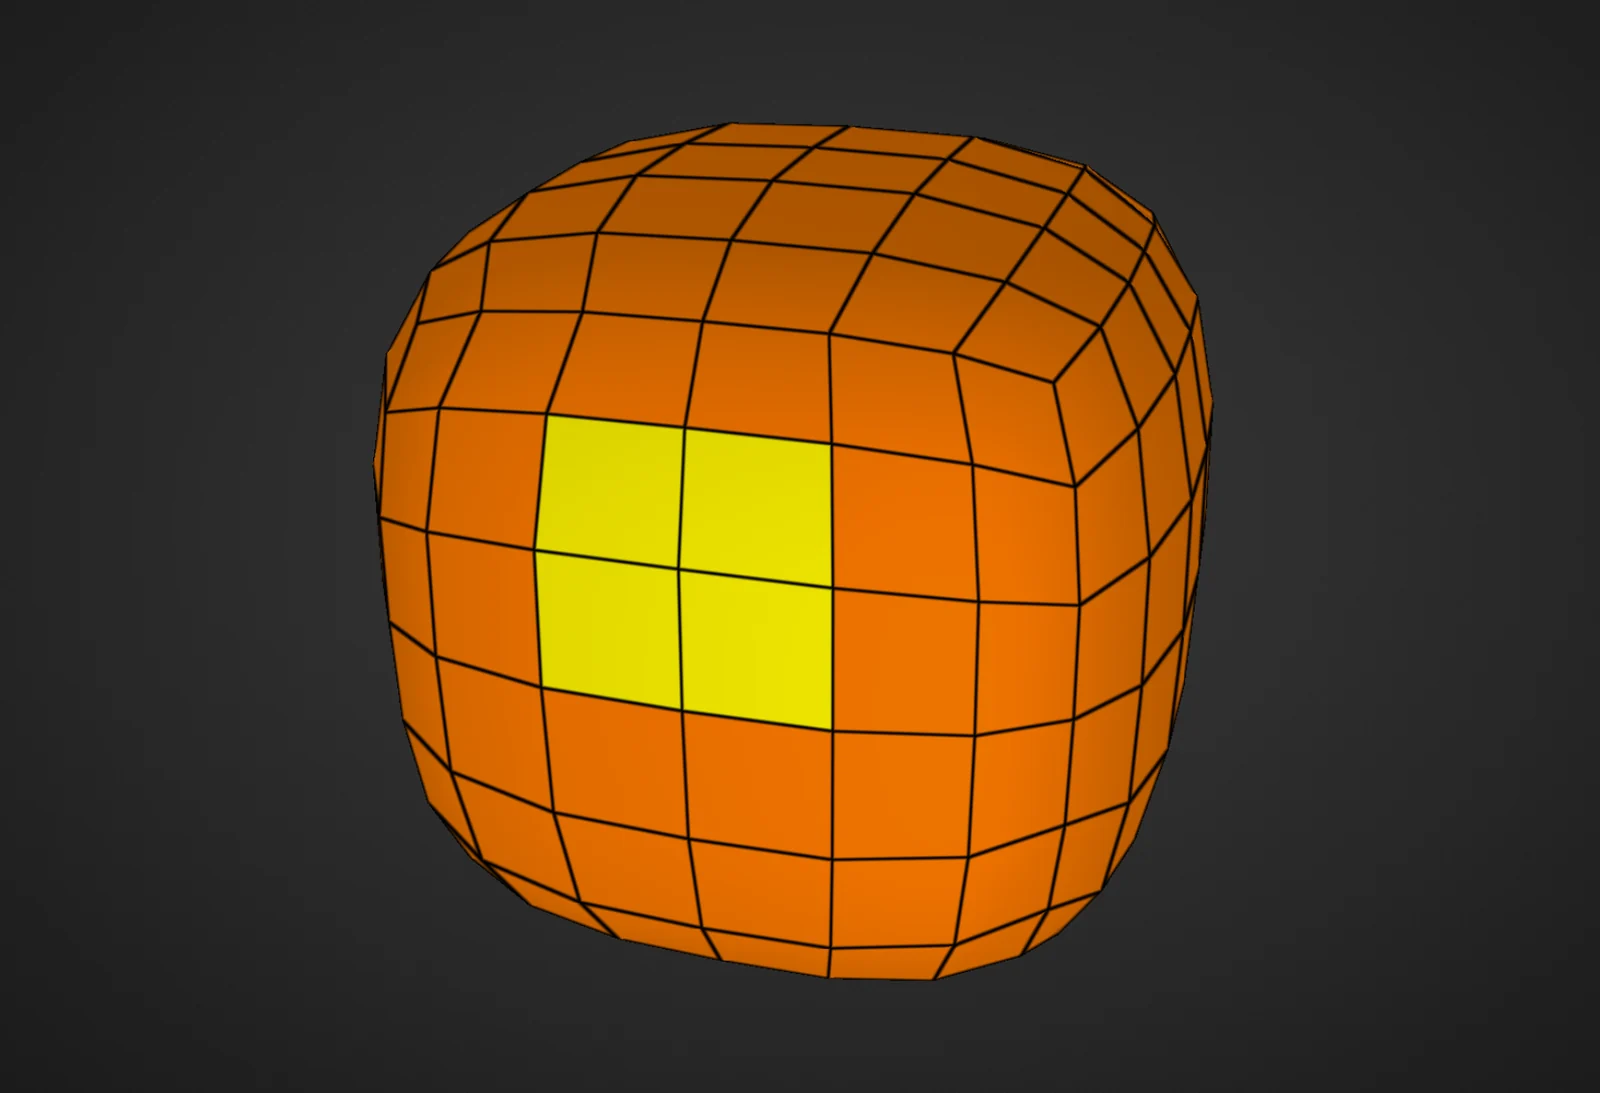
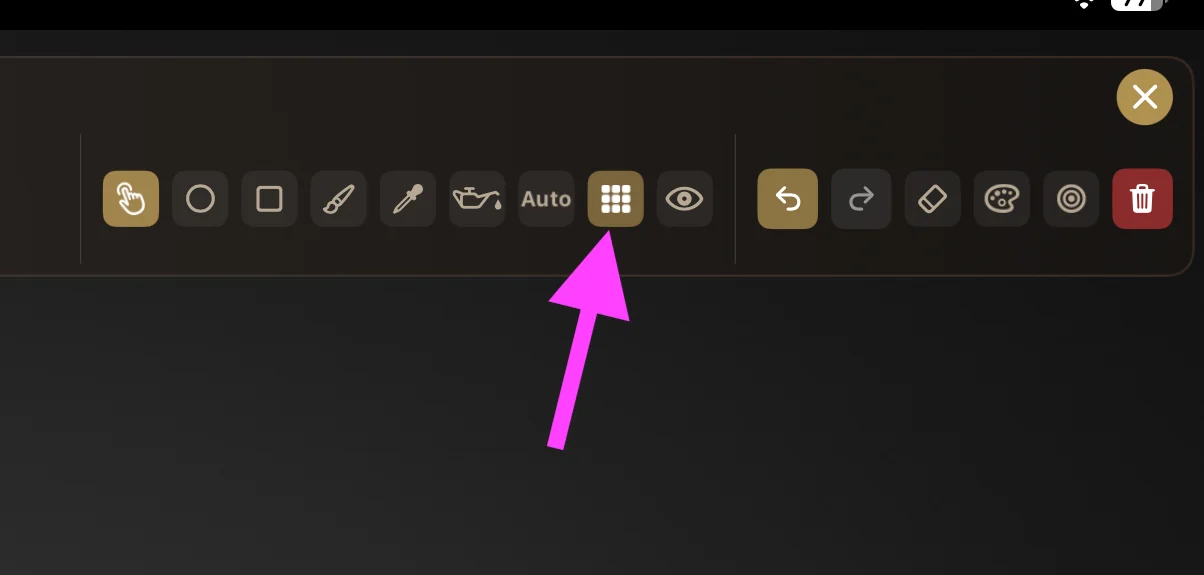
Select the model in the scene, then switch to the Paint tool. Turn on the Wireframe overlay with the grid button if you want to see the boundaries of the faces you are coloring.
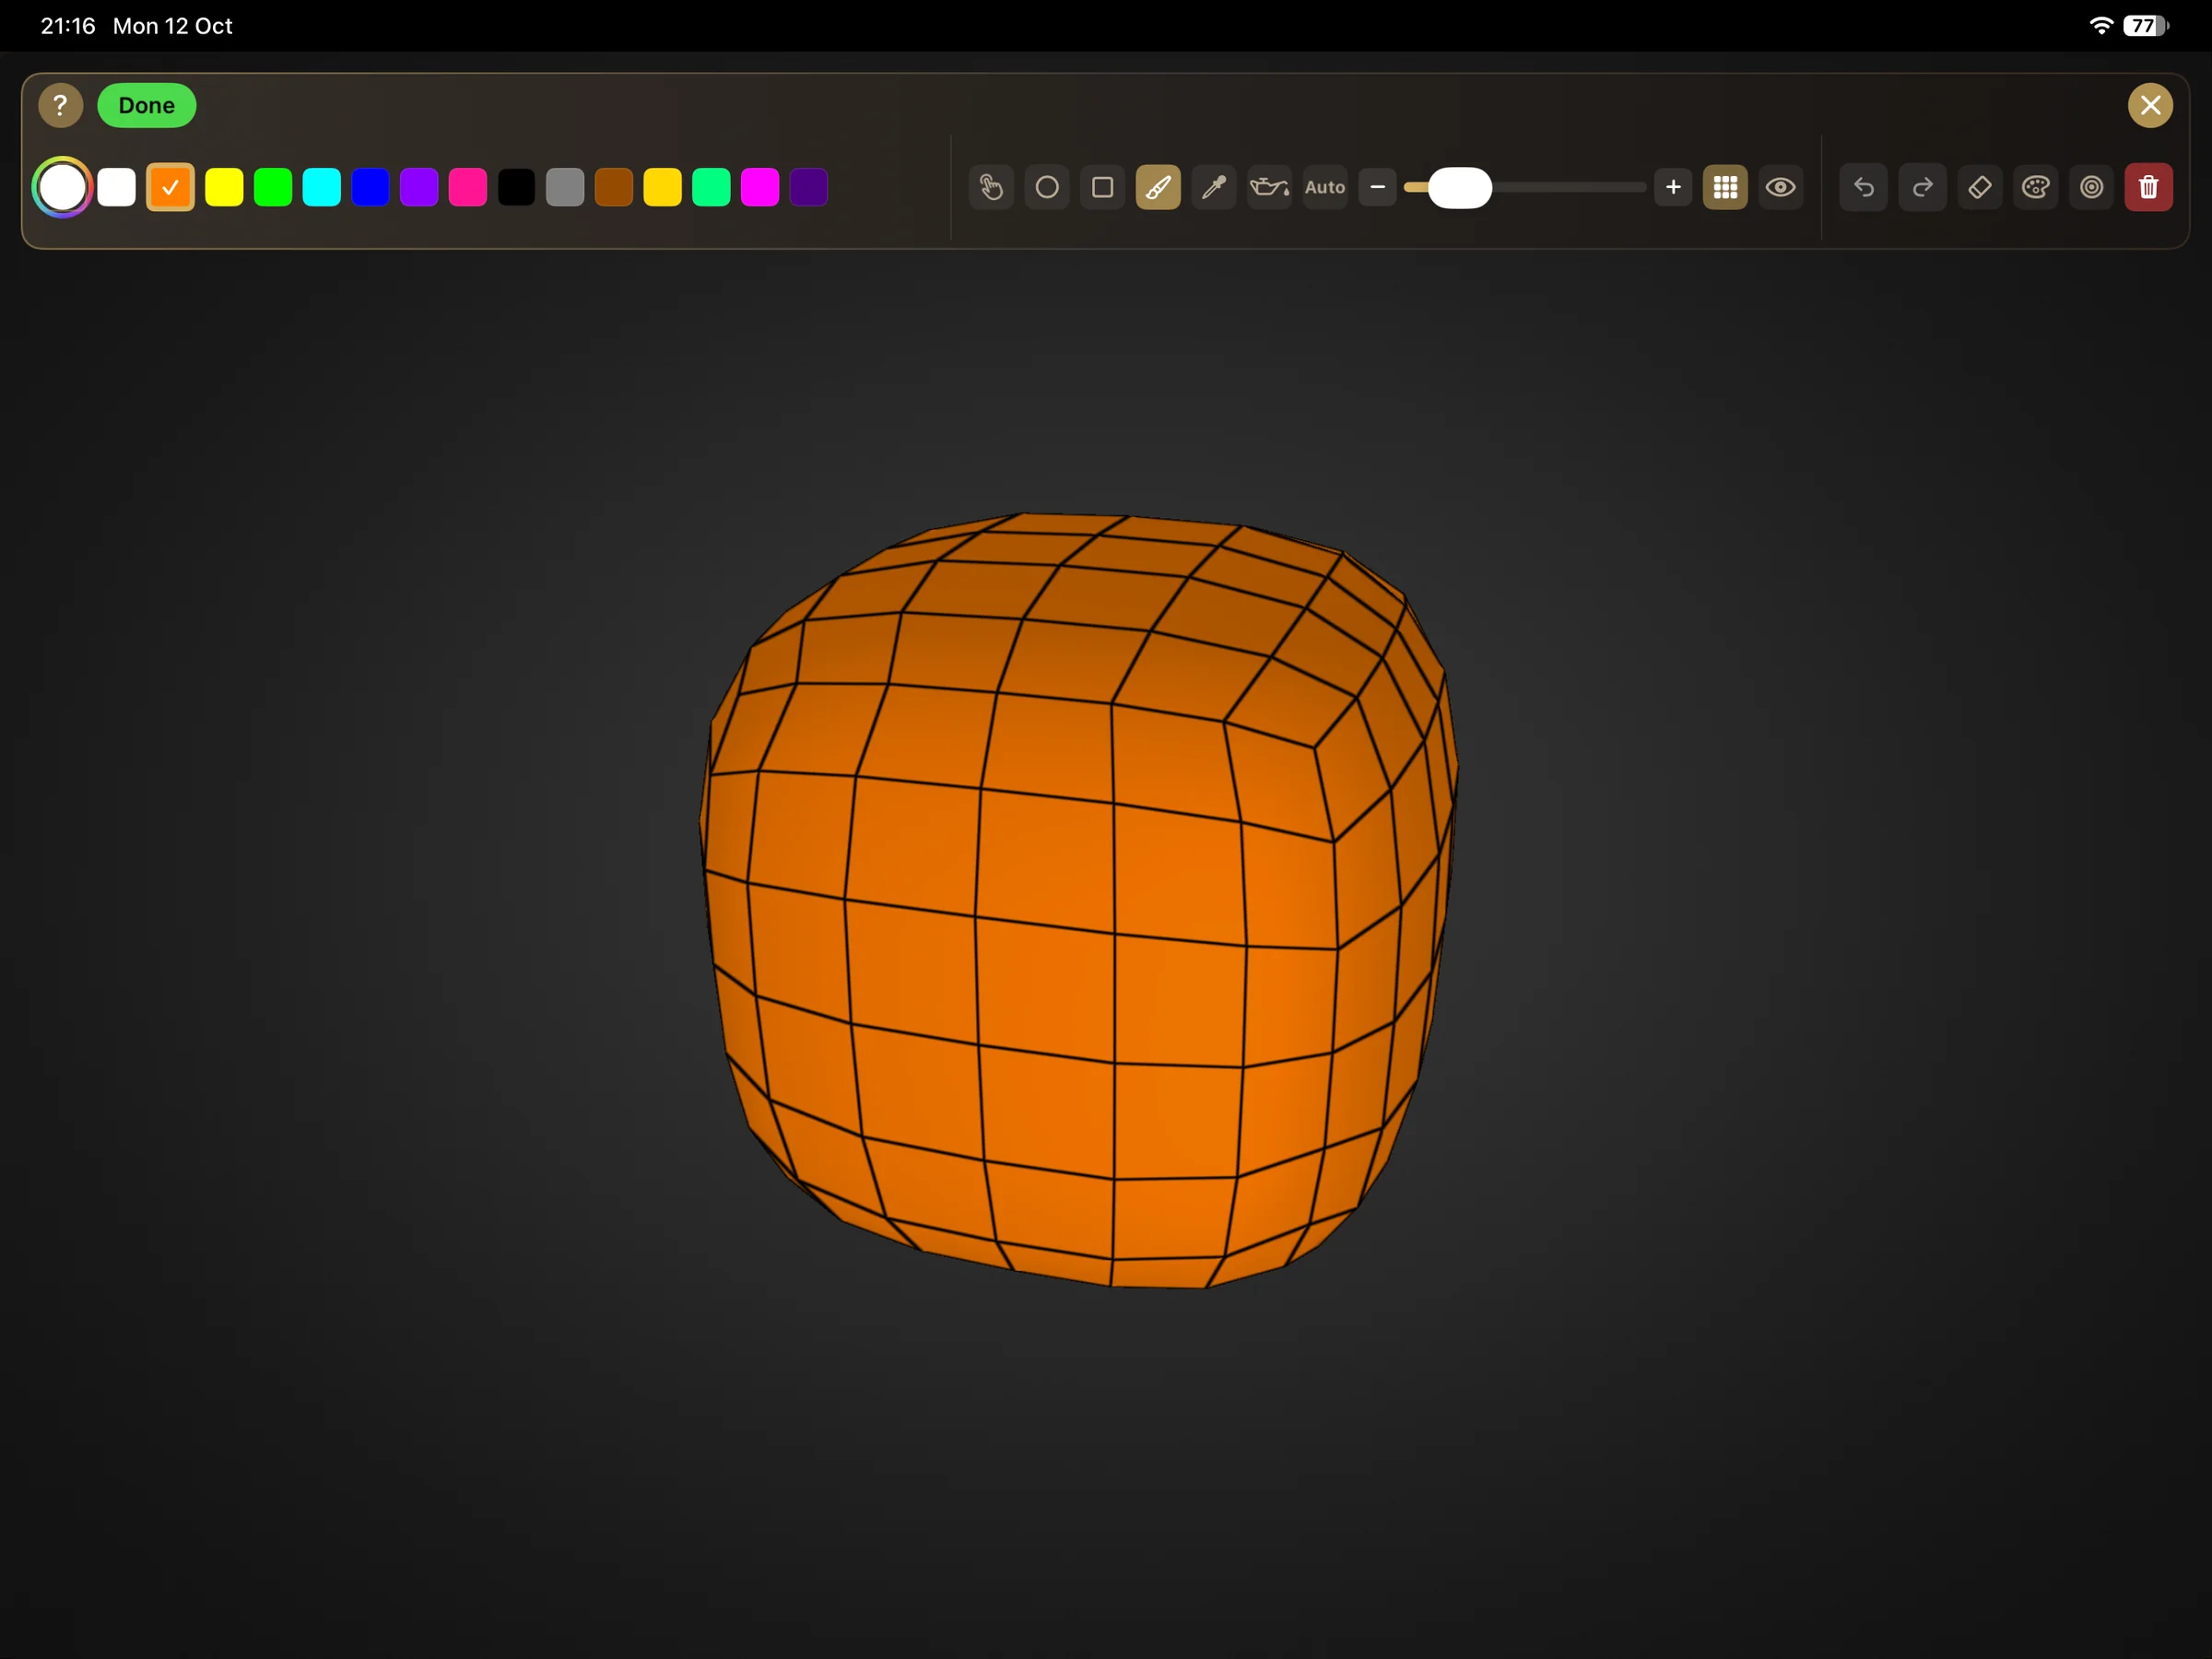
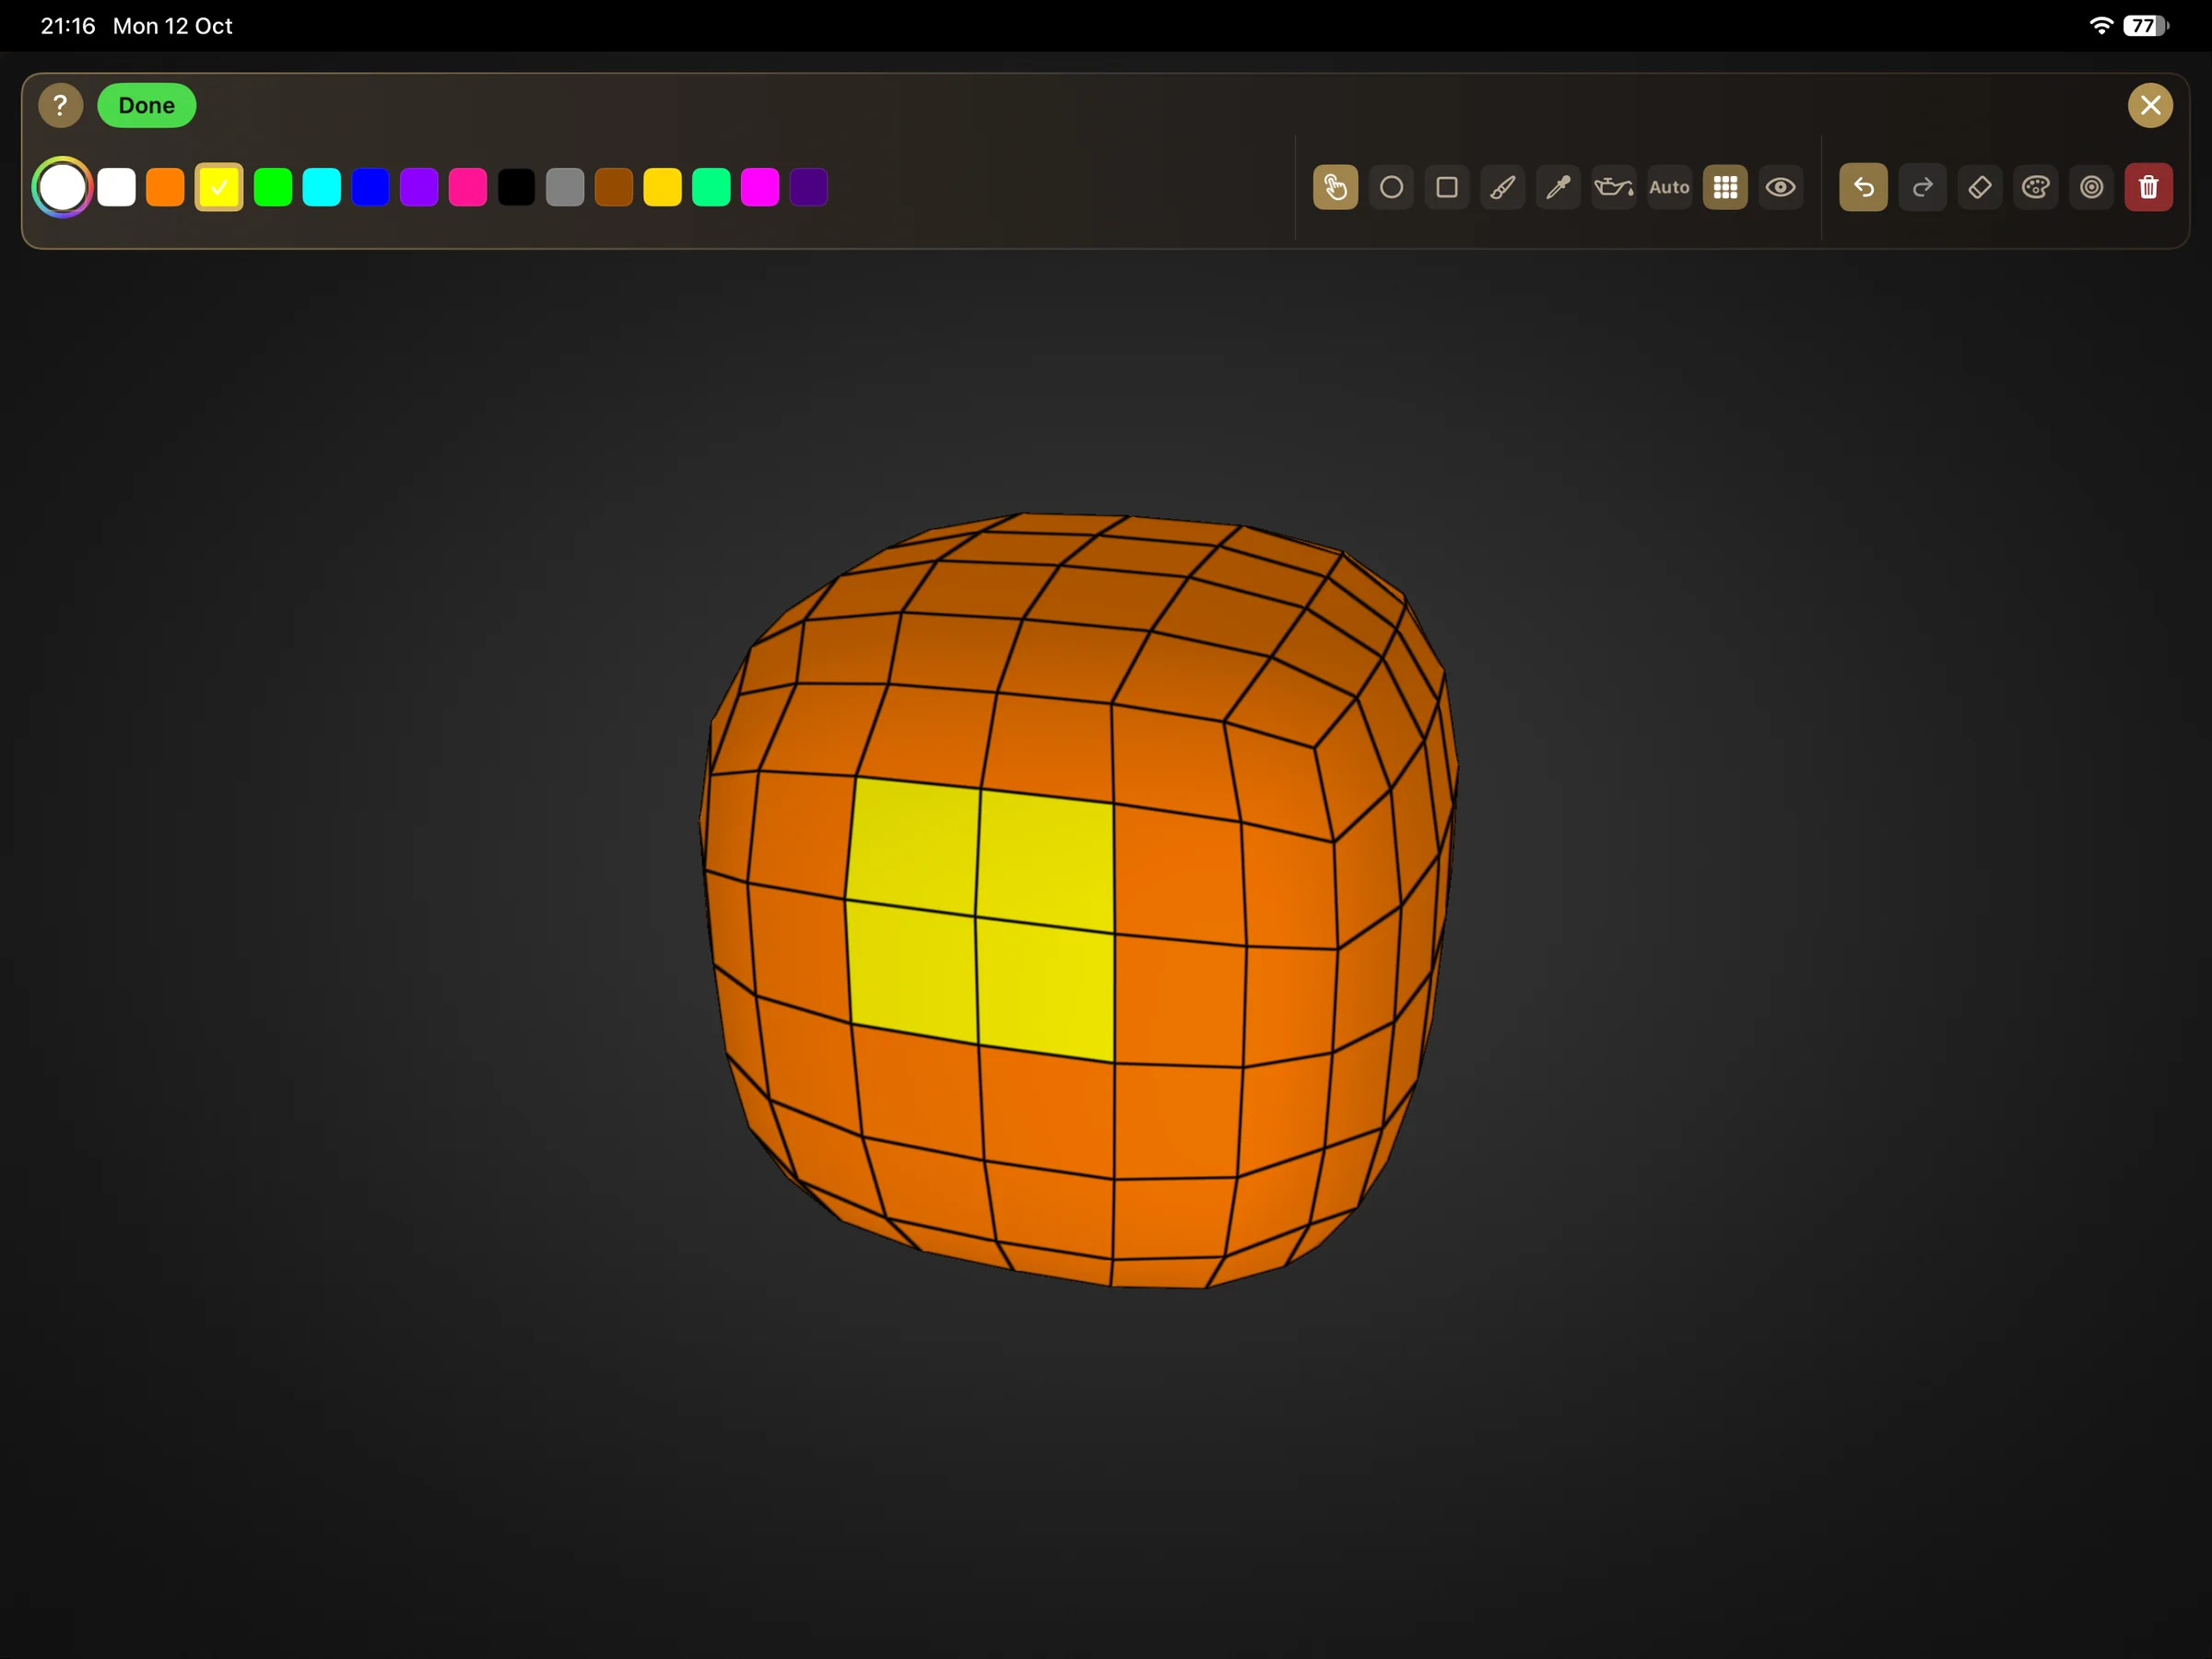
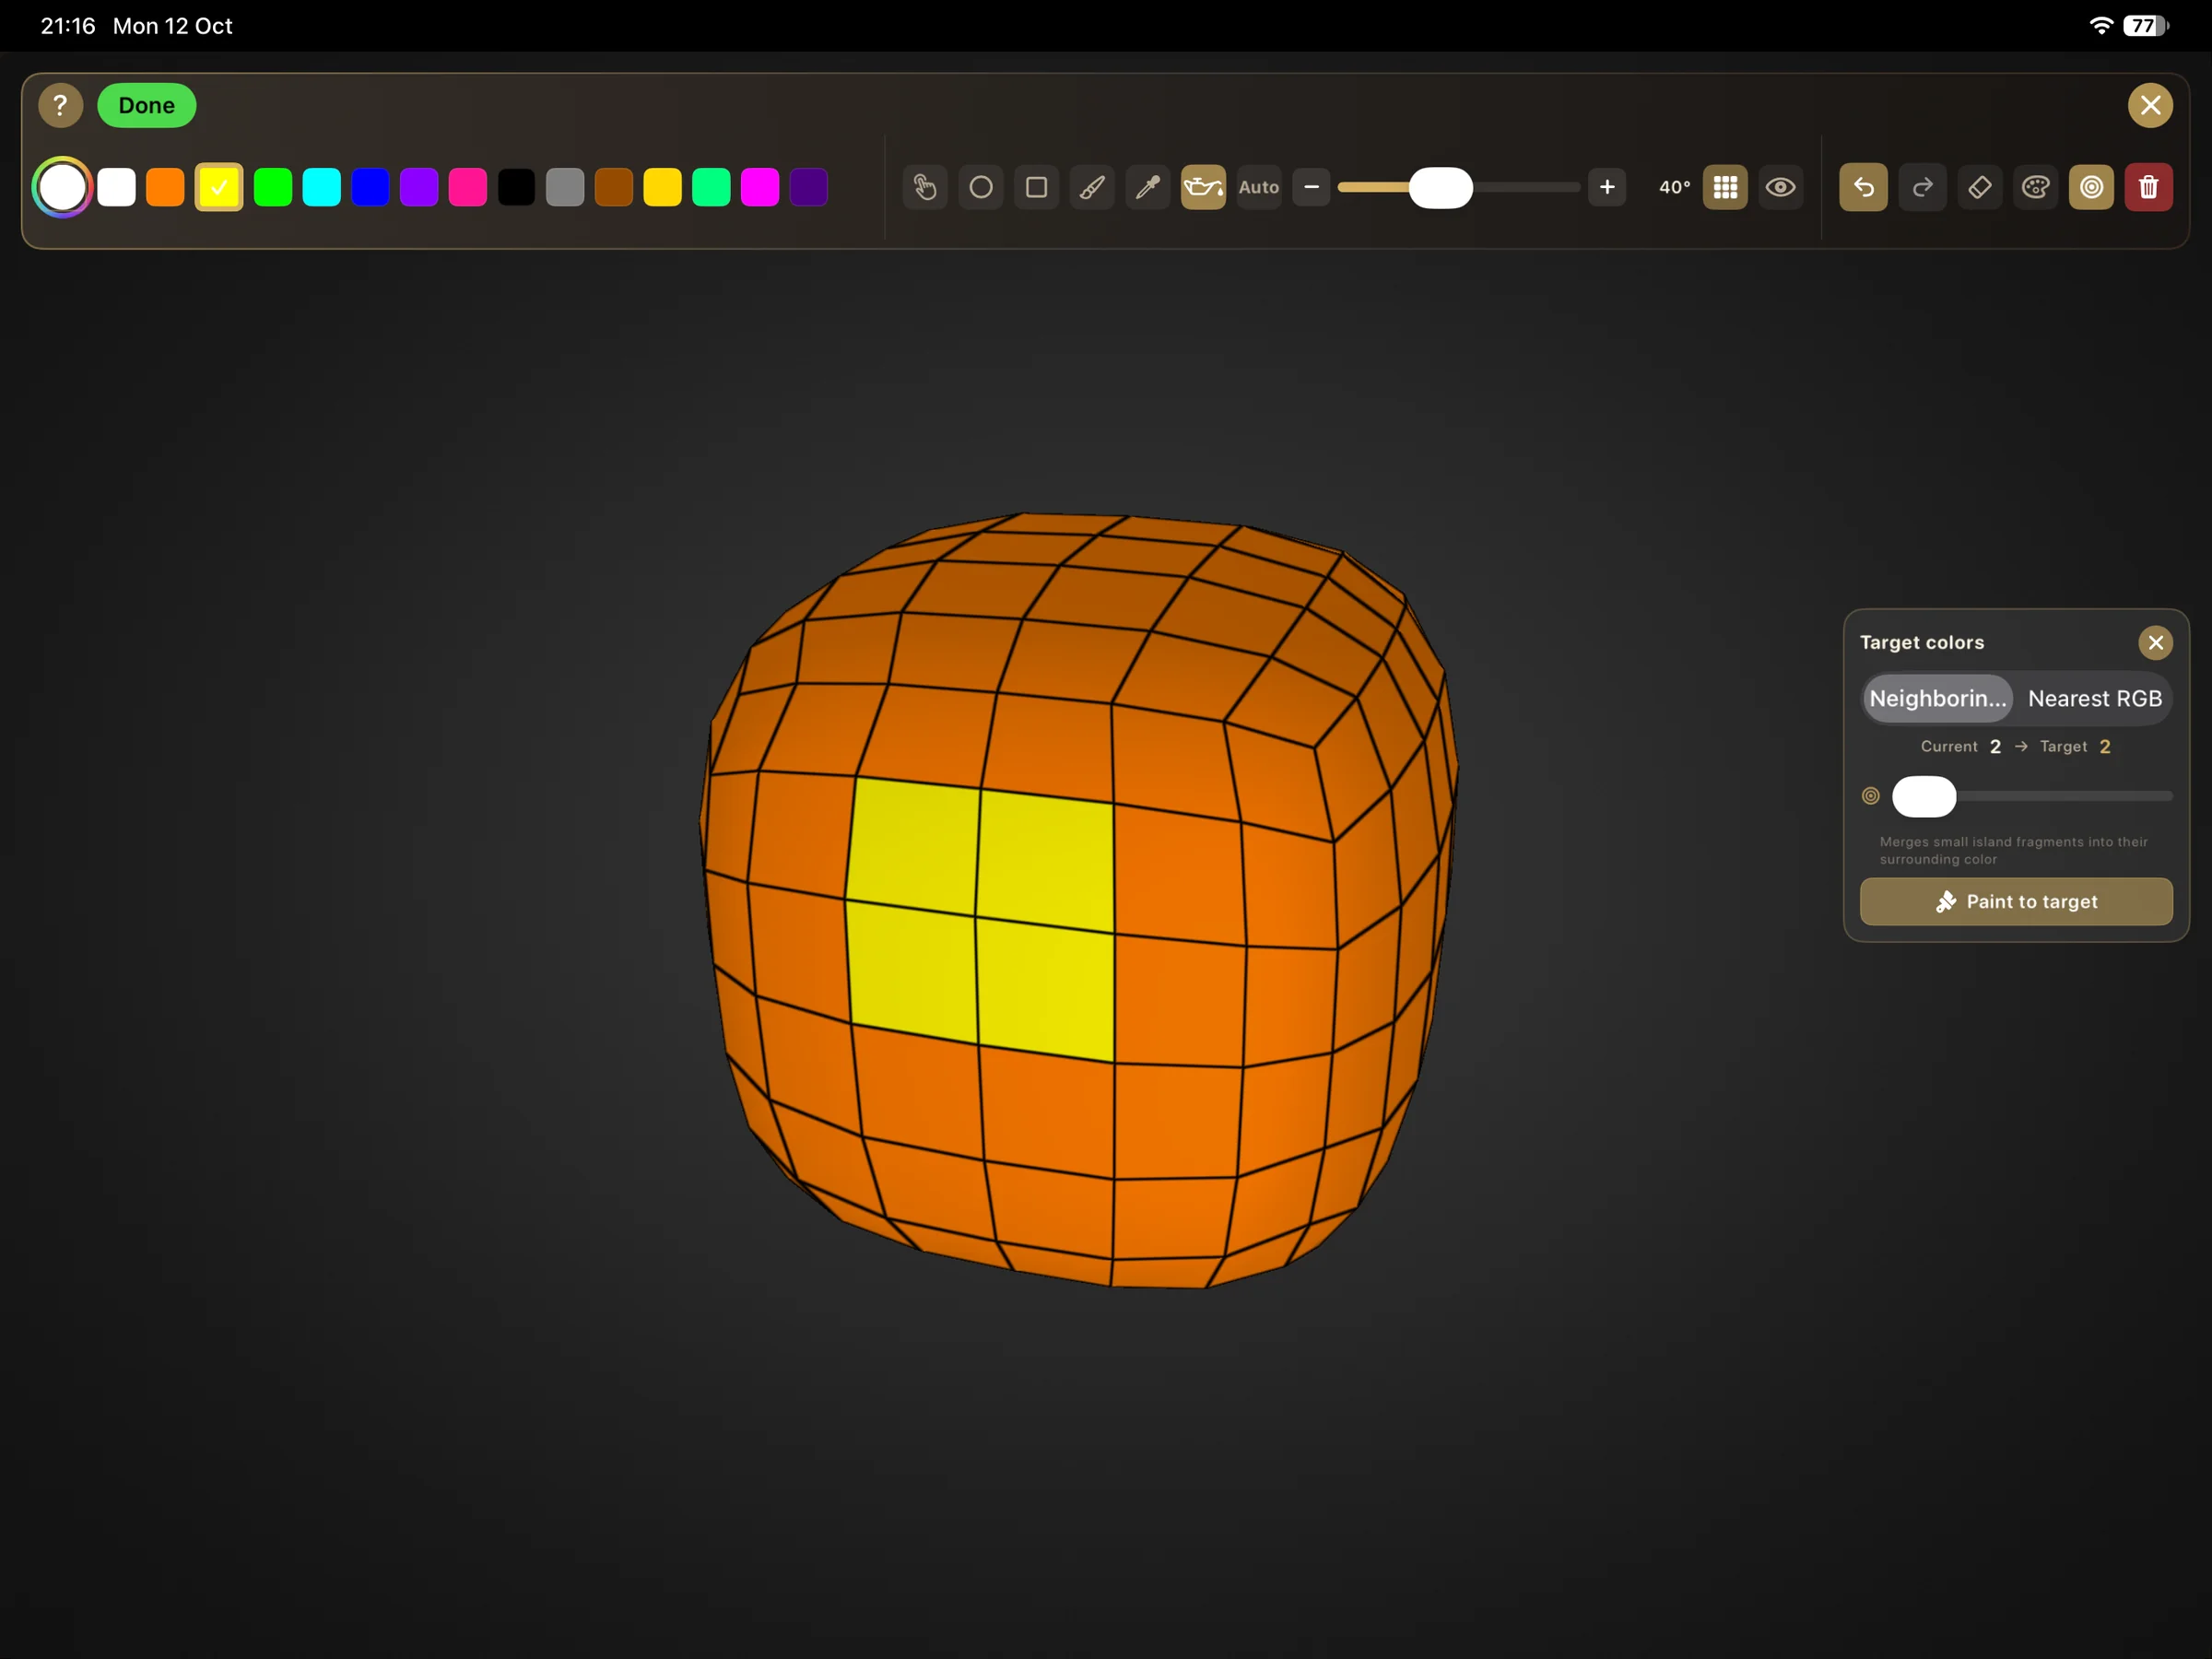
Pick a color from the palette and tap faces on the model to paint them — here a 2×2 patch on the front face goes yellow. These colors become the per-face color data carried into a 3MF export. Use Single to color individual faces, or Brush, Circle, and Rectangle to cover larger areas. Fill colors a connected region and can stop at sharp edges, while Auto segments the mesh into regions and assigns colors automatically based on the selected angle.
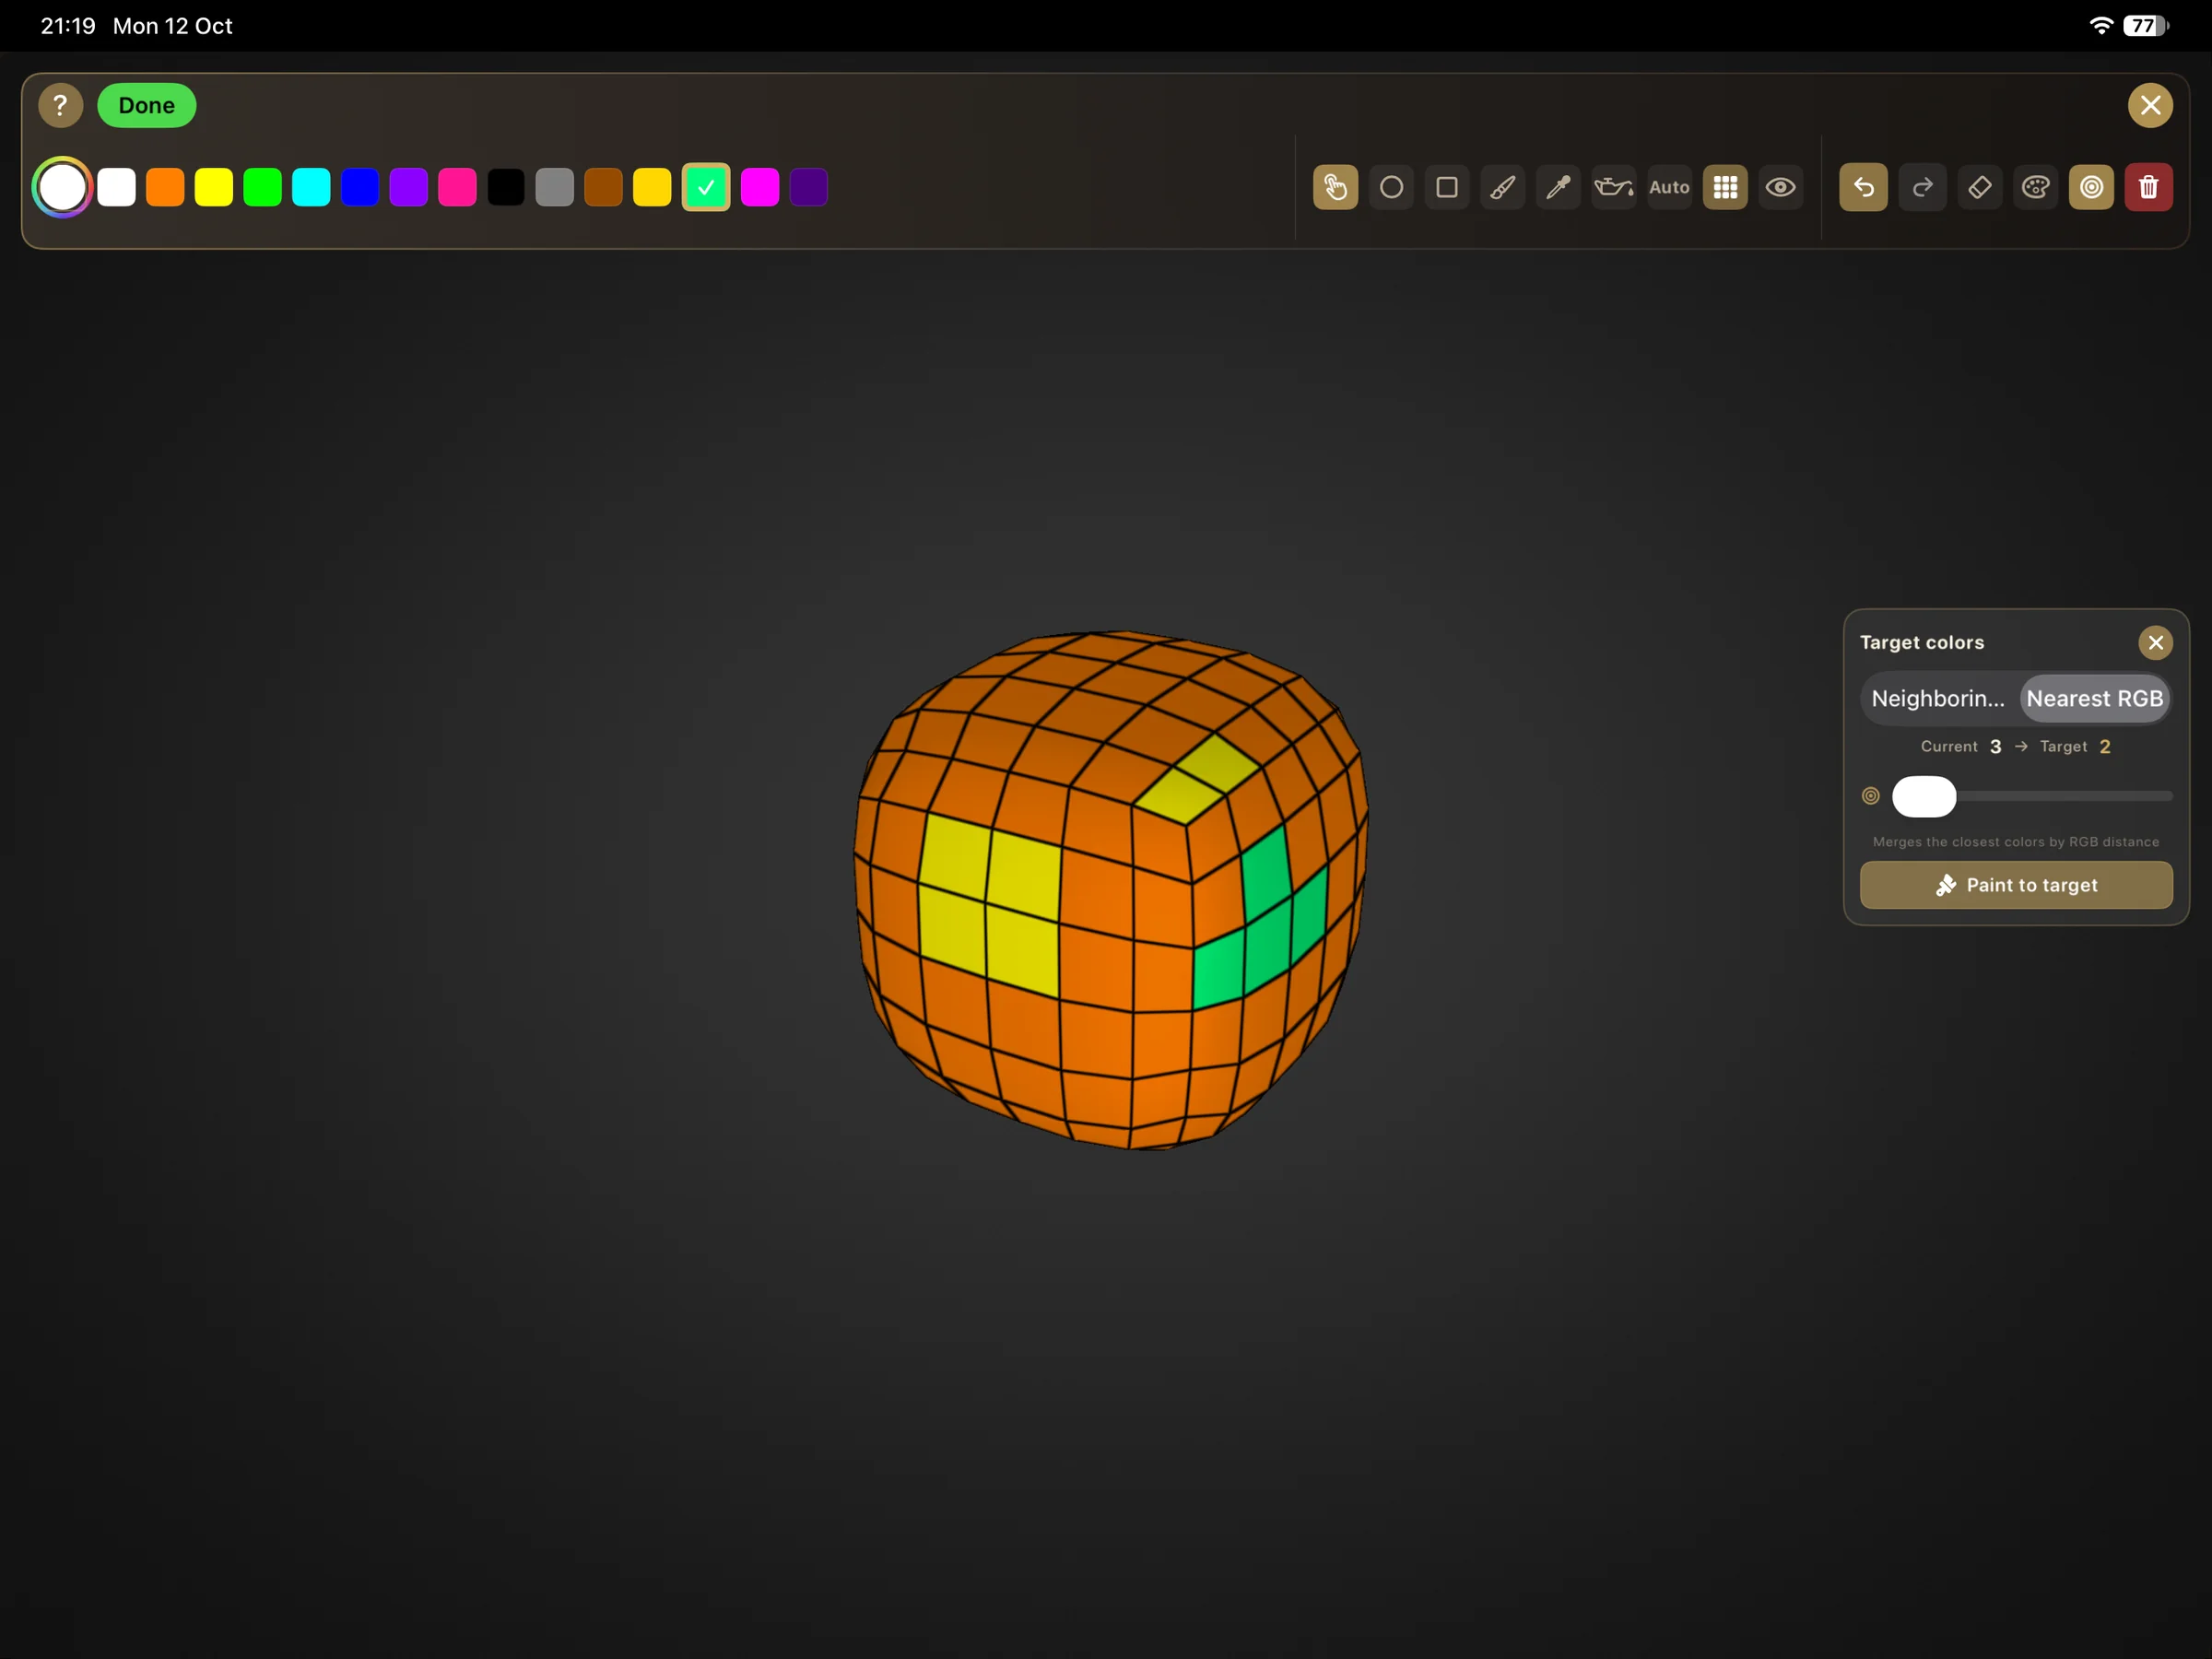
Open the Target colors panel — the concentric-circles icon — pick a mode, set the Target with the slider, and press Paint to target. The Current counter shows the number of used paint colors in both modes. What Target counts depends on the mode: in Neighboring islands it counts connected painted regions (one orange region plus two separate yellow regions is 3 islands but only 2 colors); in Nearest RGB it counts unique colors.
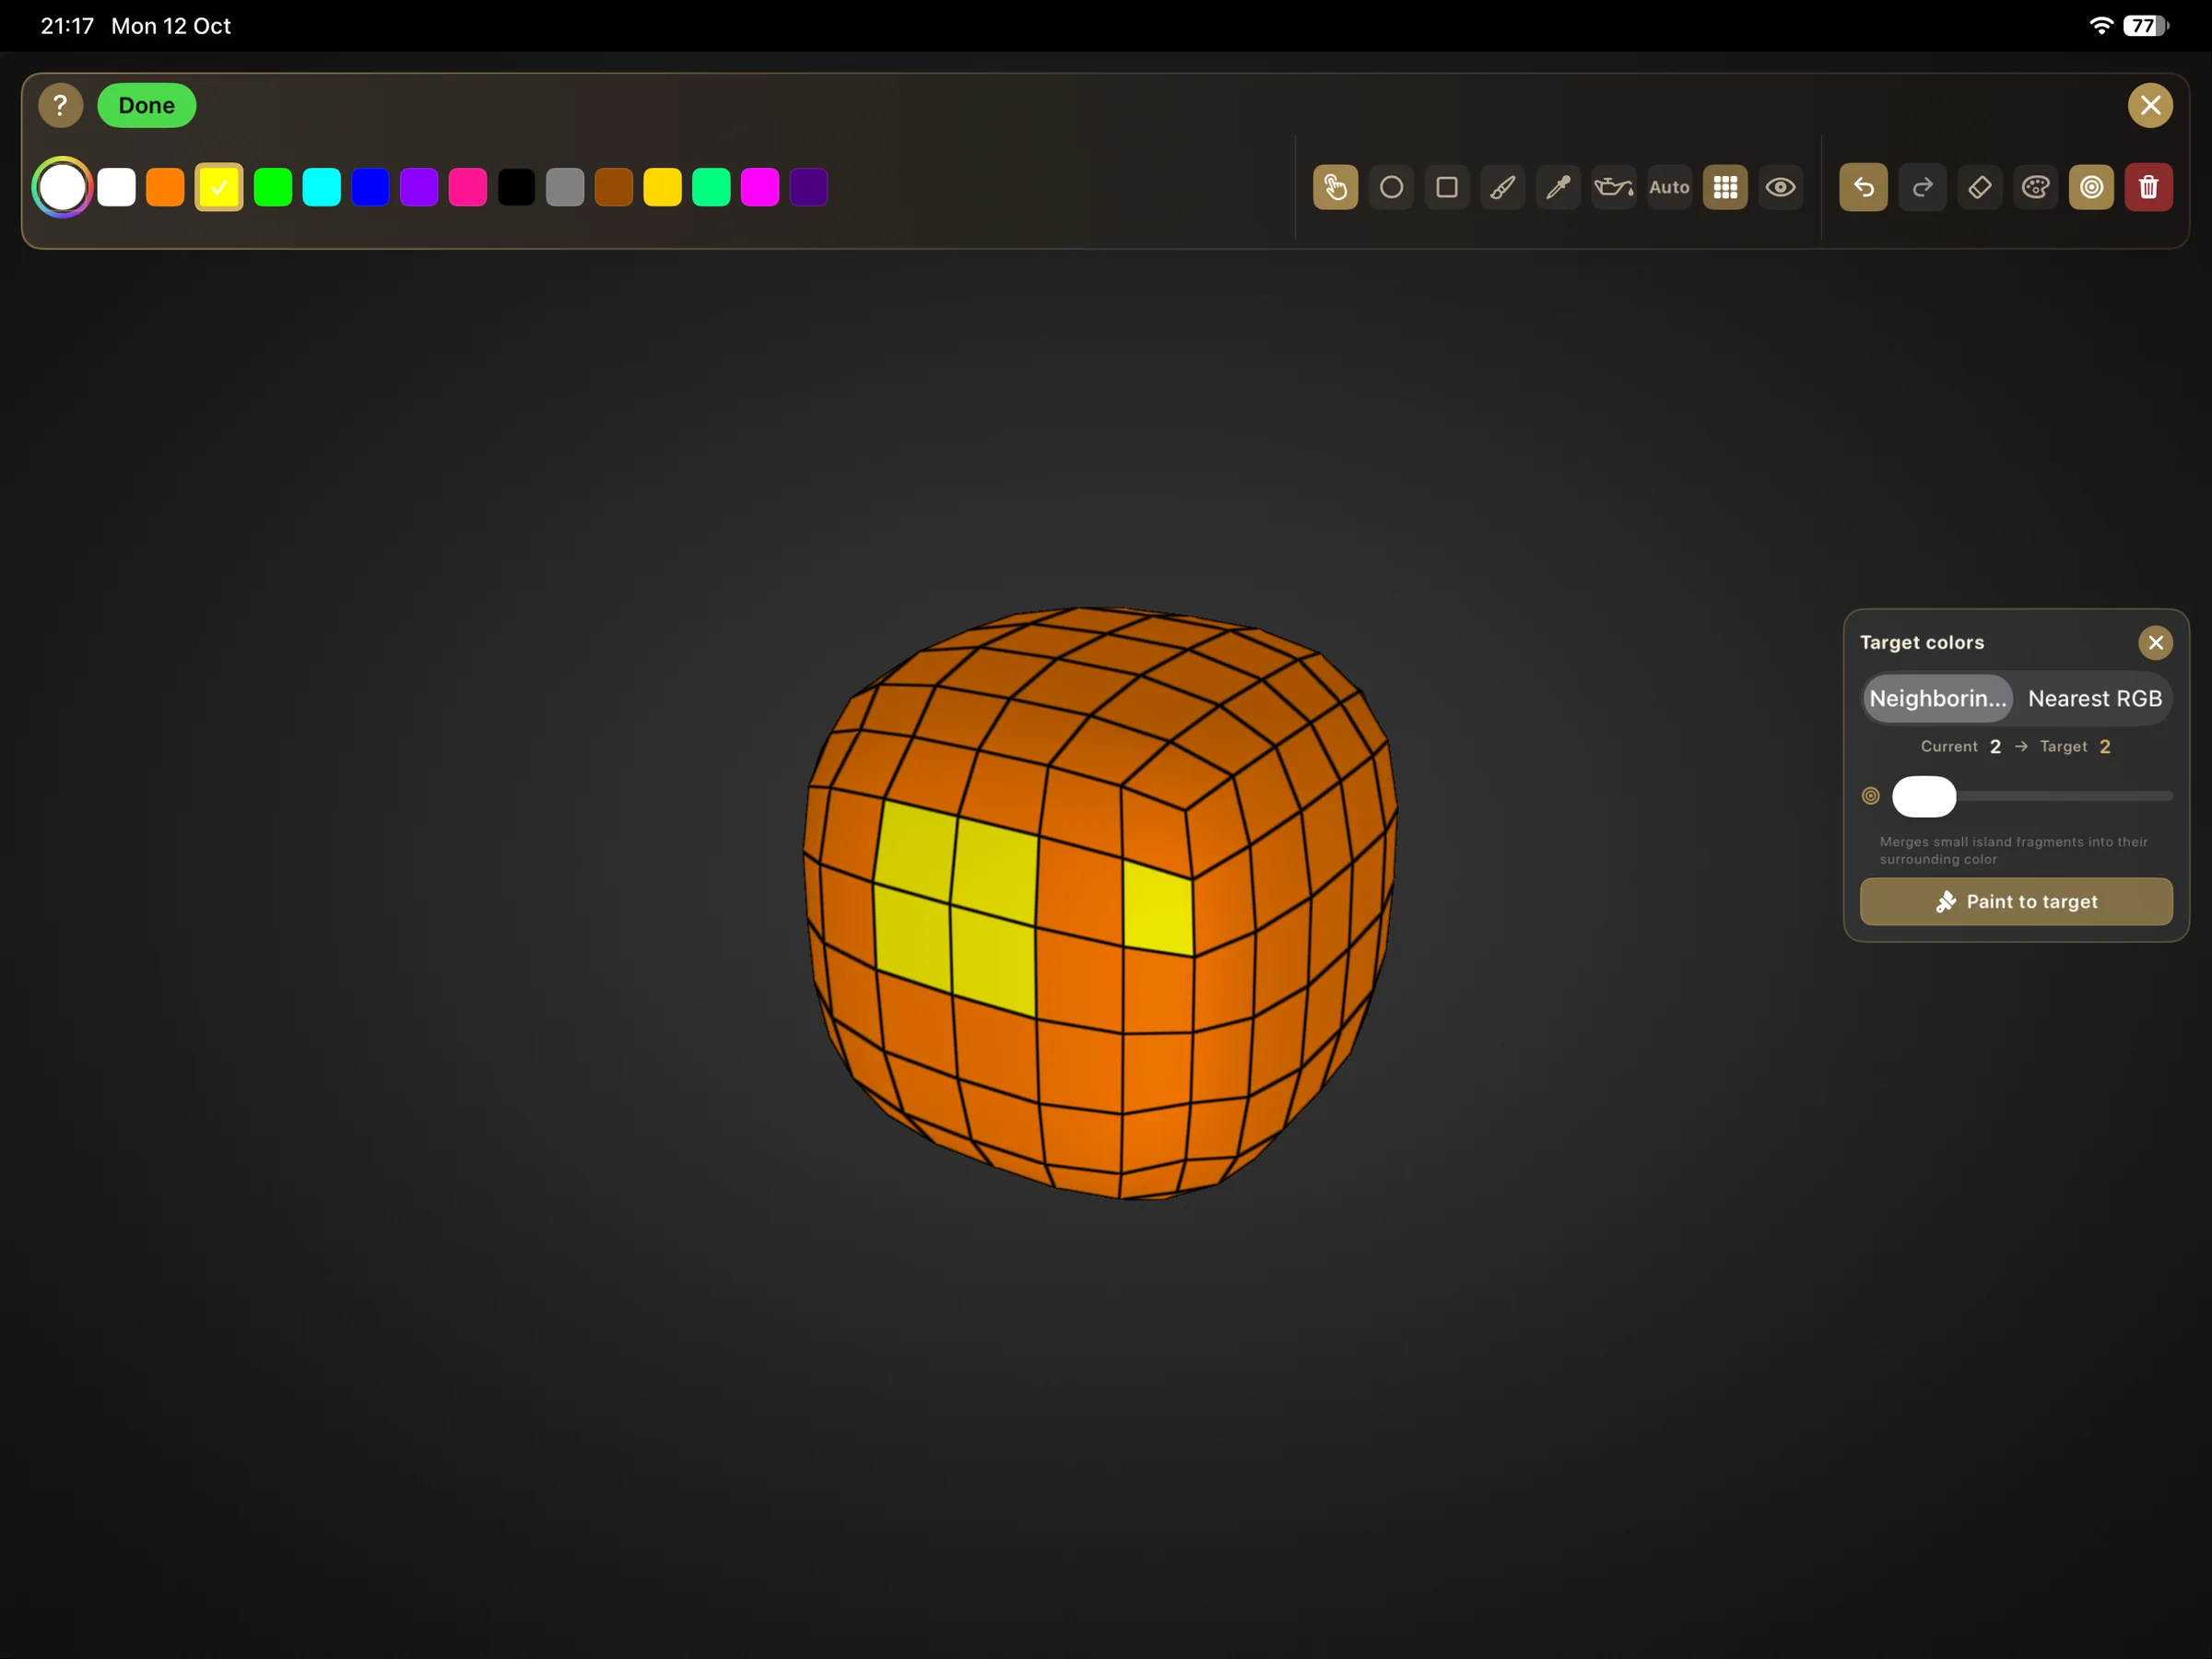
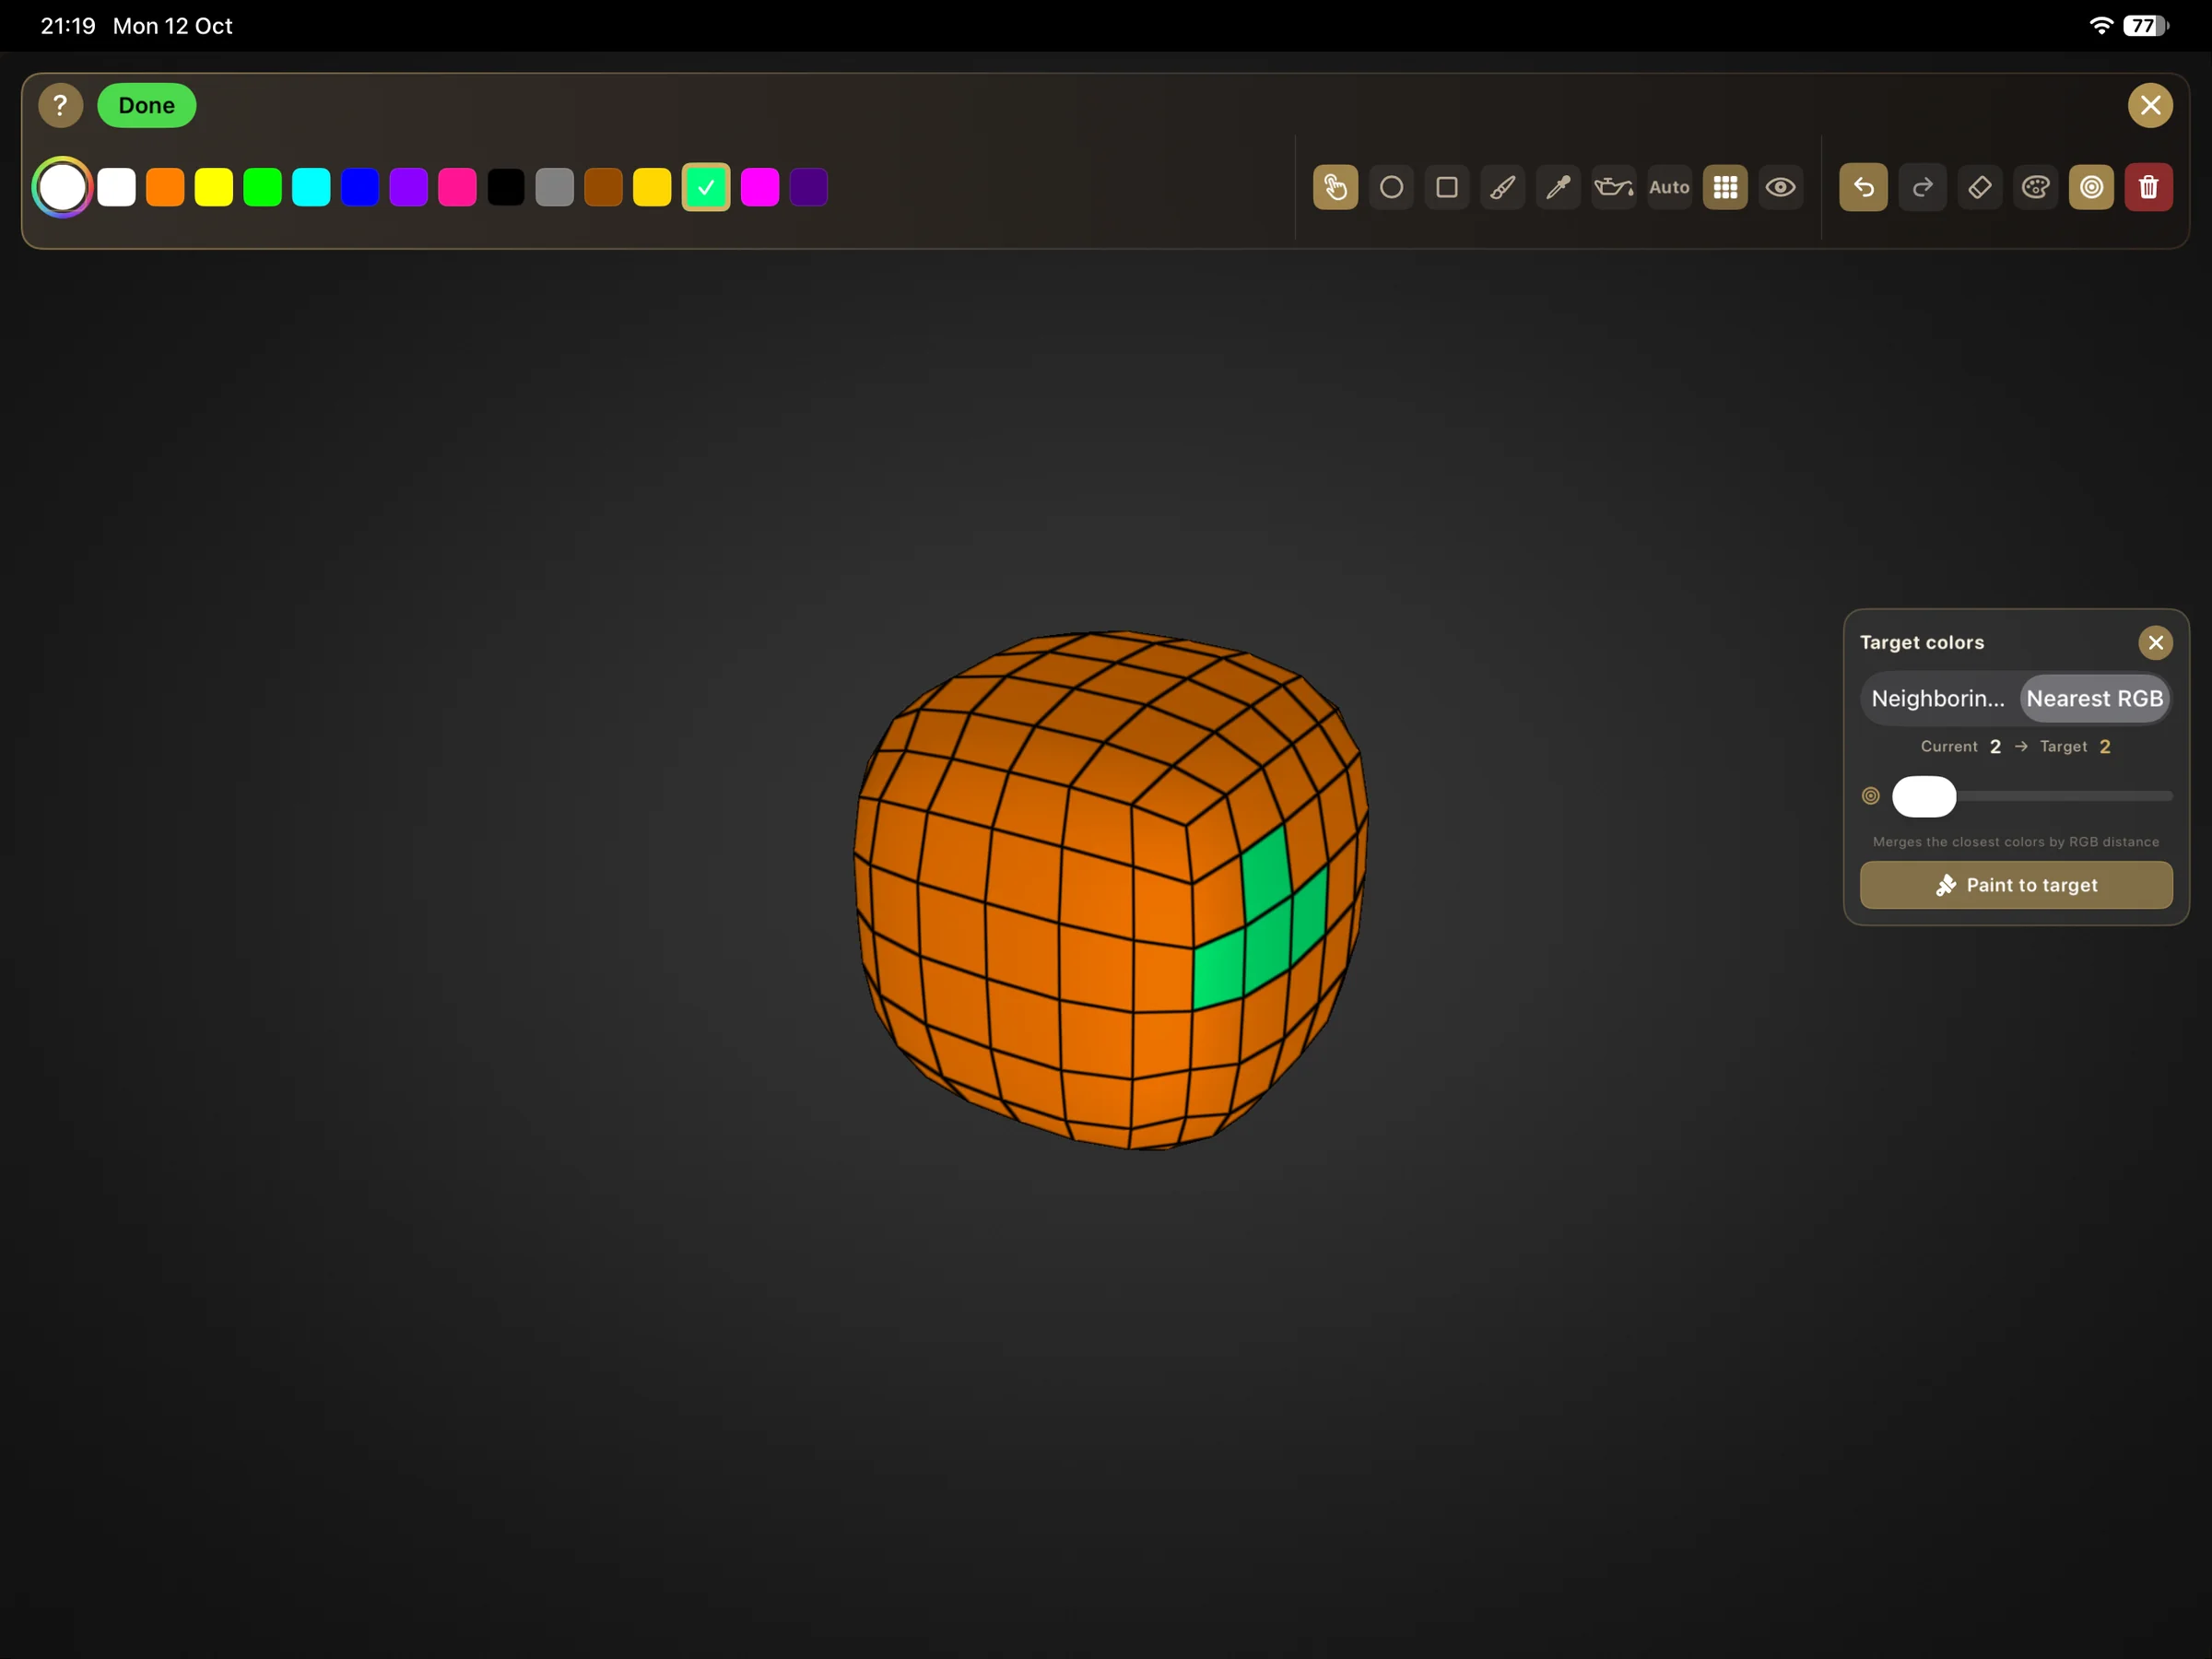
Merge small islands into their neighbors. Here the cube has a yellow 2×2 patch on the front and one isolated yellow face on the right — 3 islands in 2 colors. With Target 2, the isolated face is repainted to its largest neighbor.
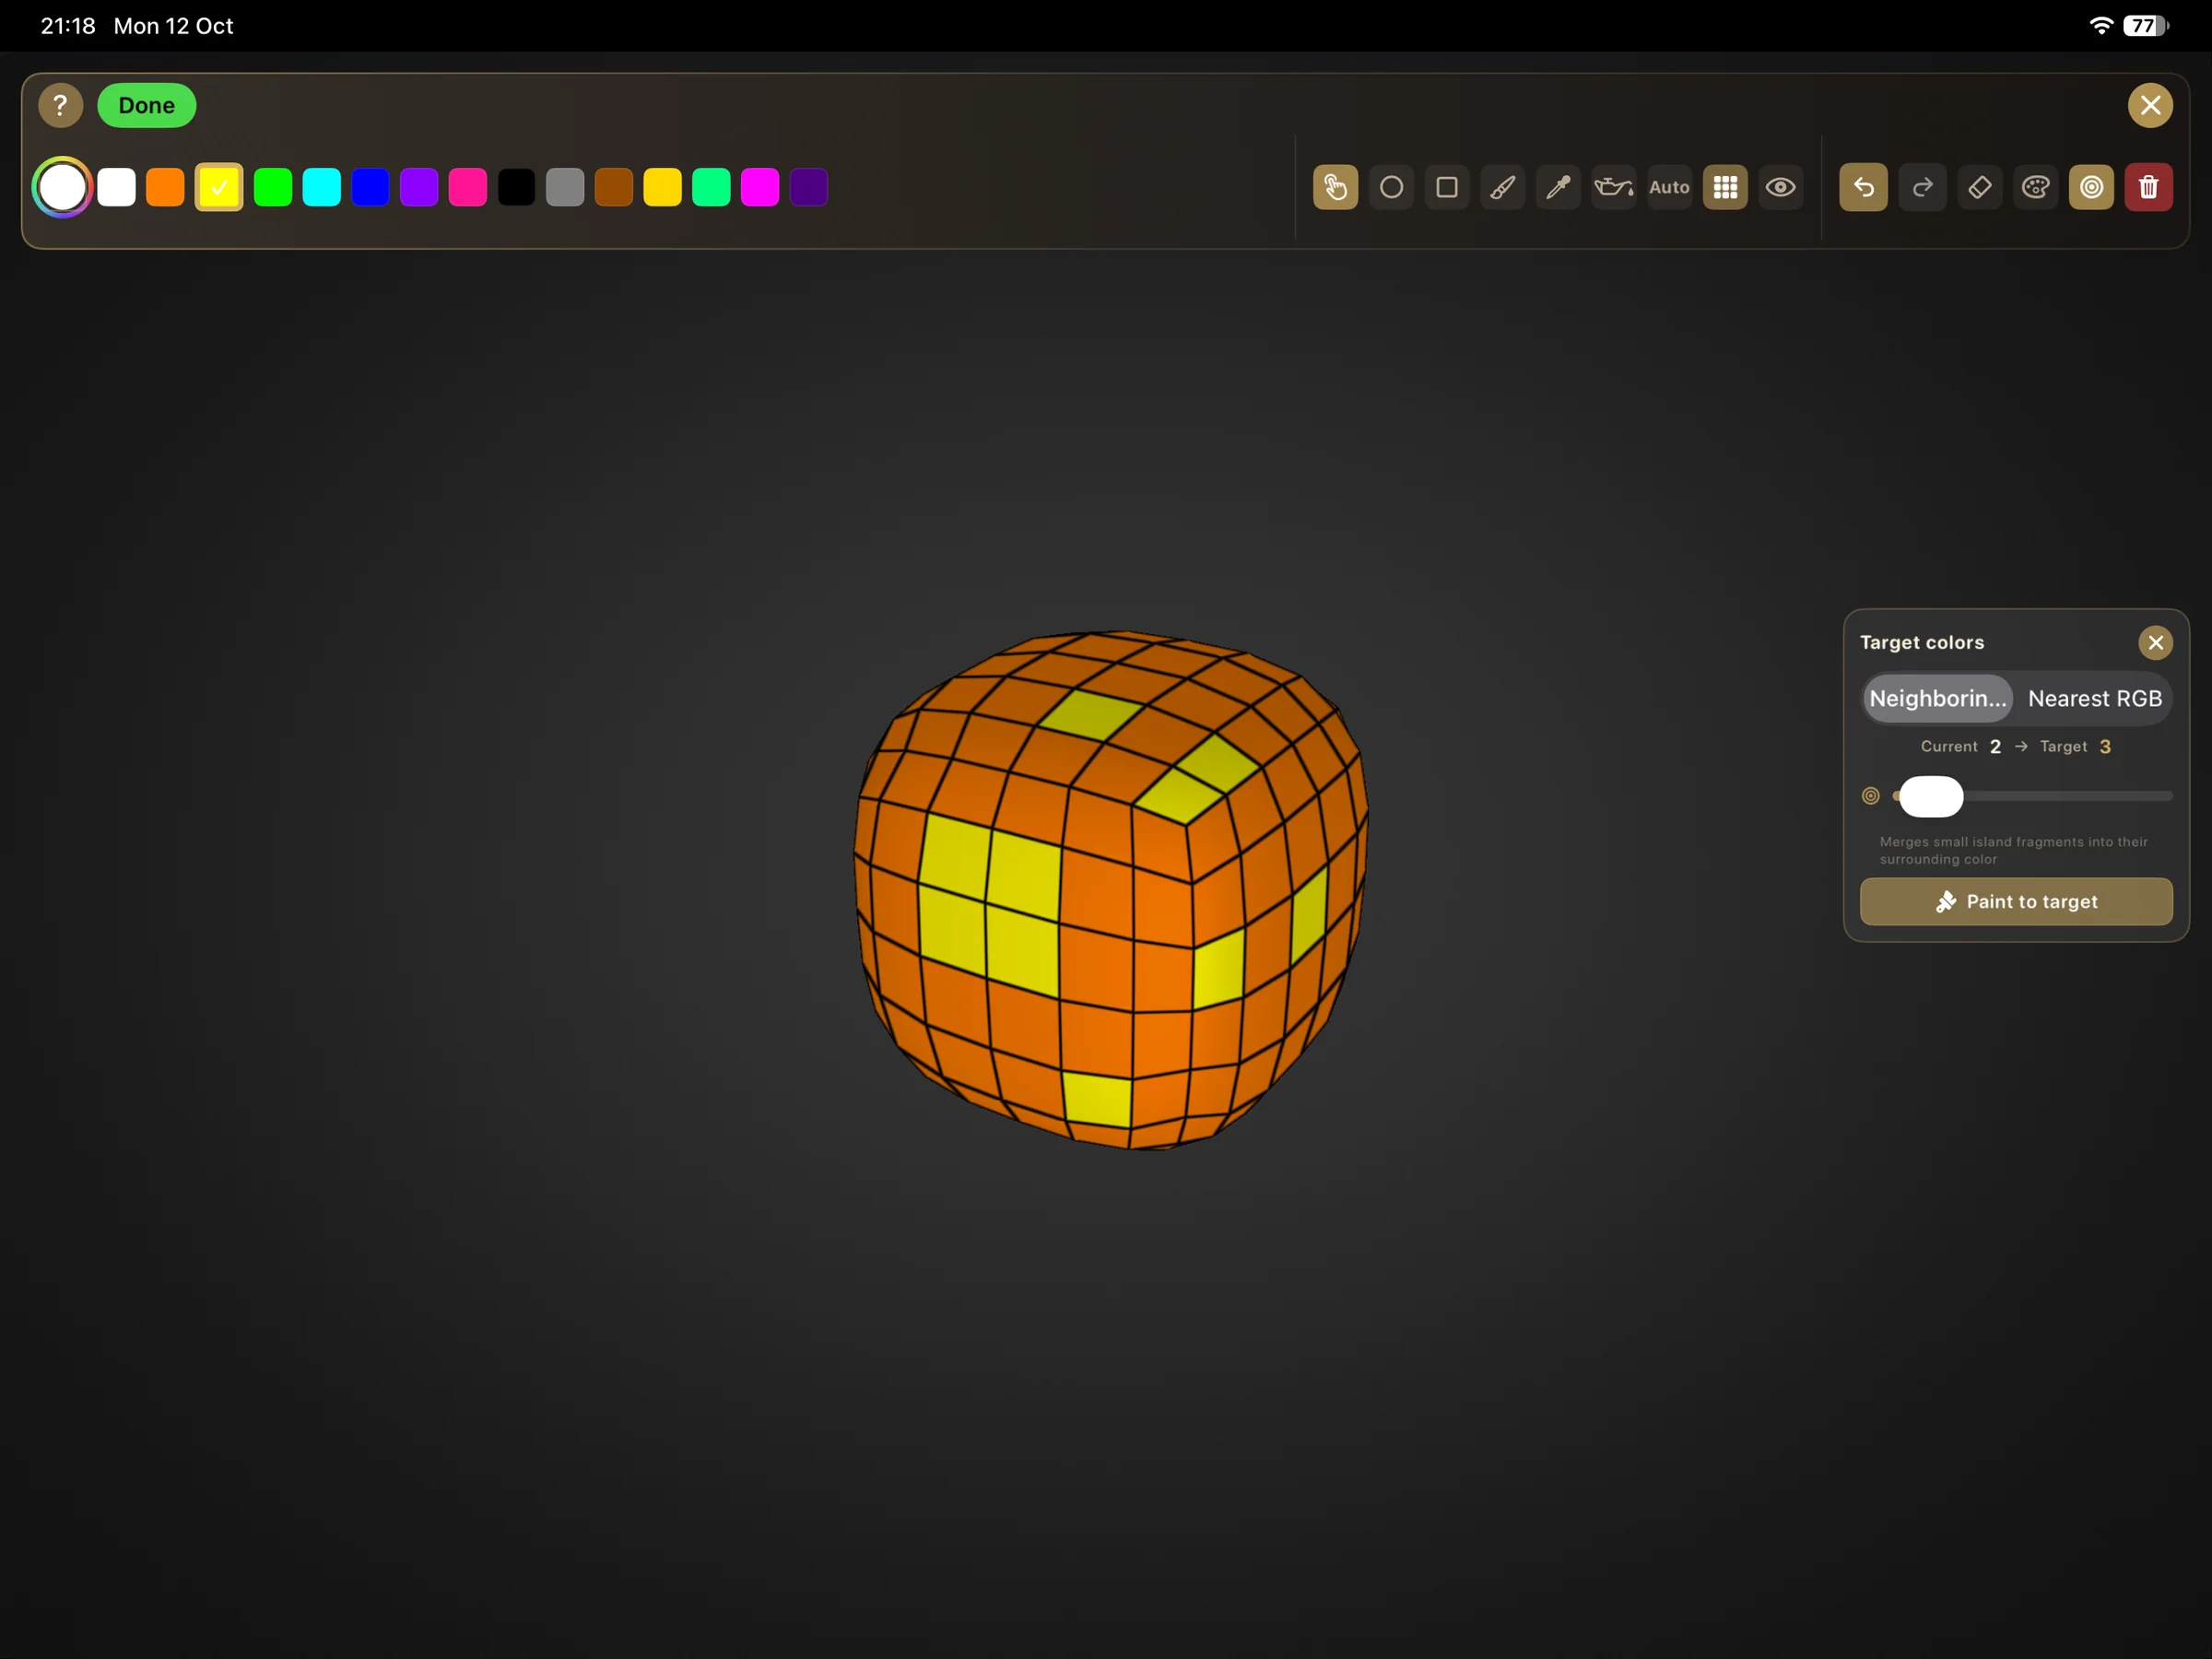
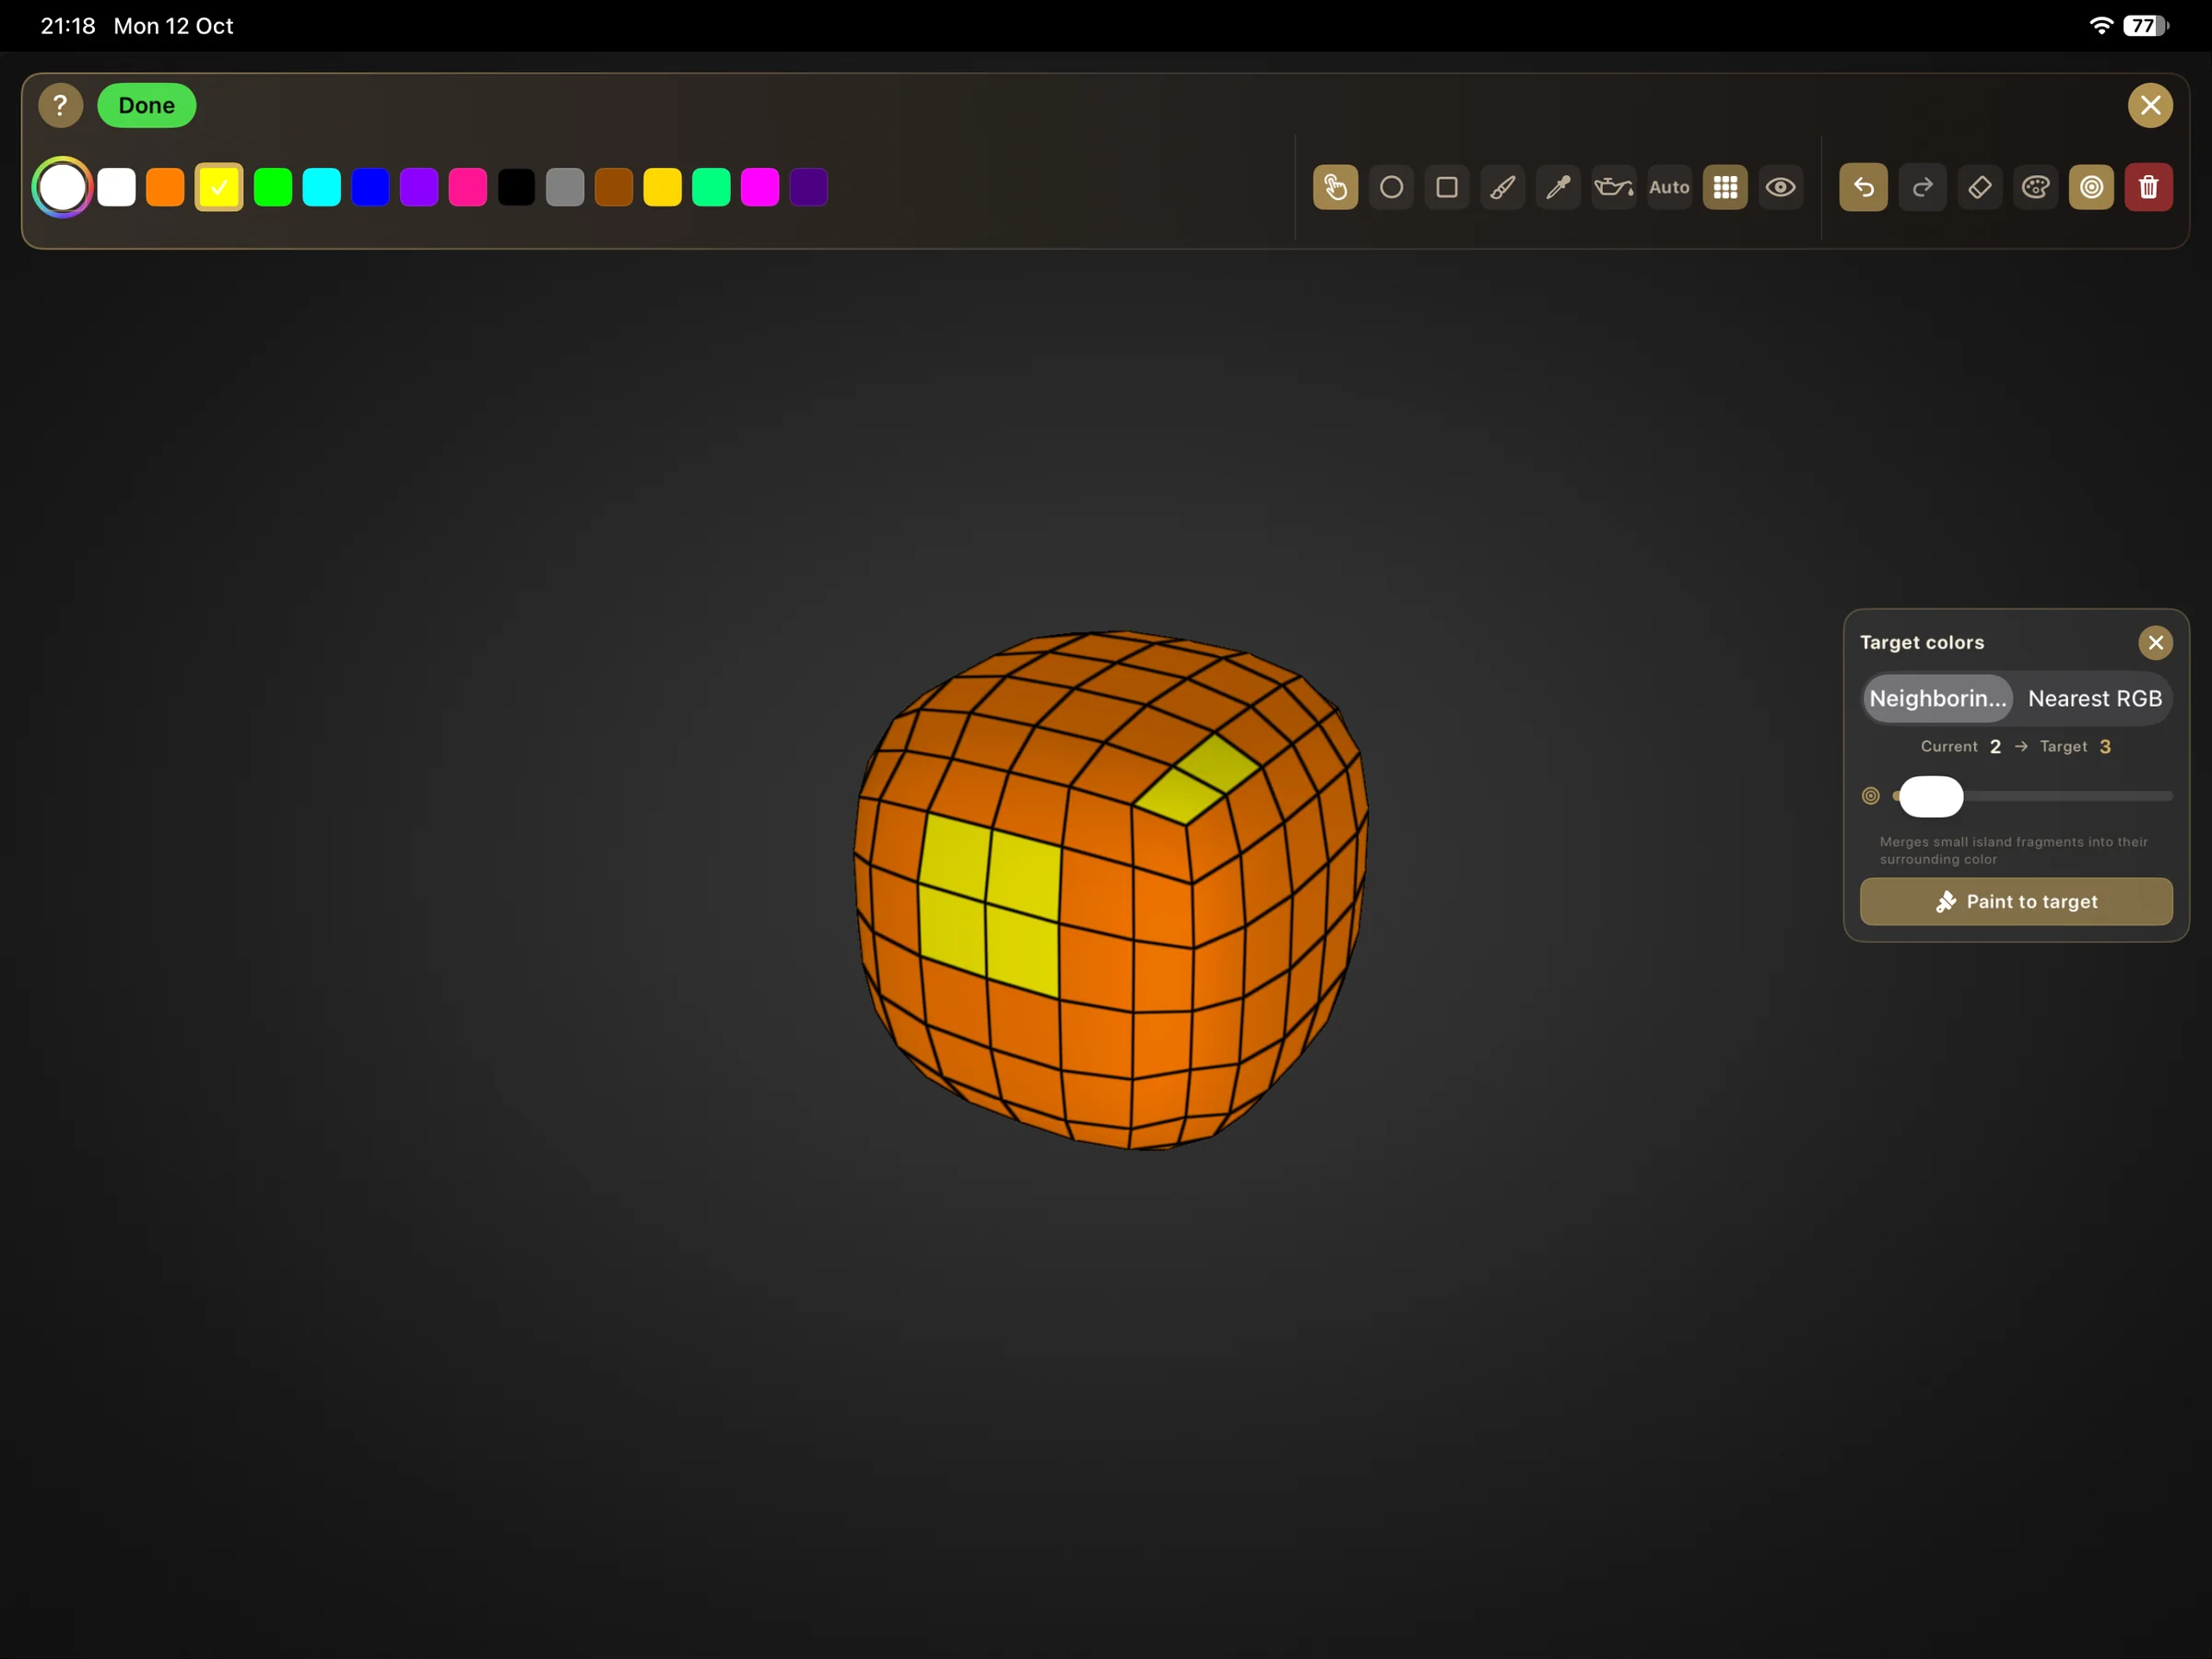
The same mode removes scattered speckles. This cube has stray yellow spots on the top, right, and bottom besides the two main yellow areas. With Target 3, the tiny spots merge into their largest adjacent region while the front and top yellow patches survive.
Nearest RGB reduces the palette itself: it repeatedly finds the two most similar colors and repaints the second one to the first — globally, regardless of whether the regions touch. Here a 3-color cube (orange, yellow, and a green-turquoise patch) becomes 2 colors as the yellow areas turn orange; the green-turquoise patch stays.
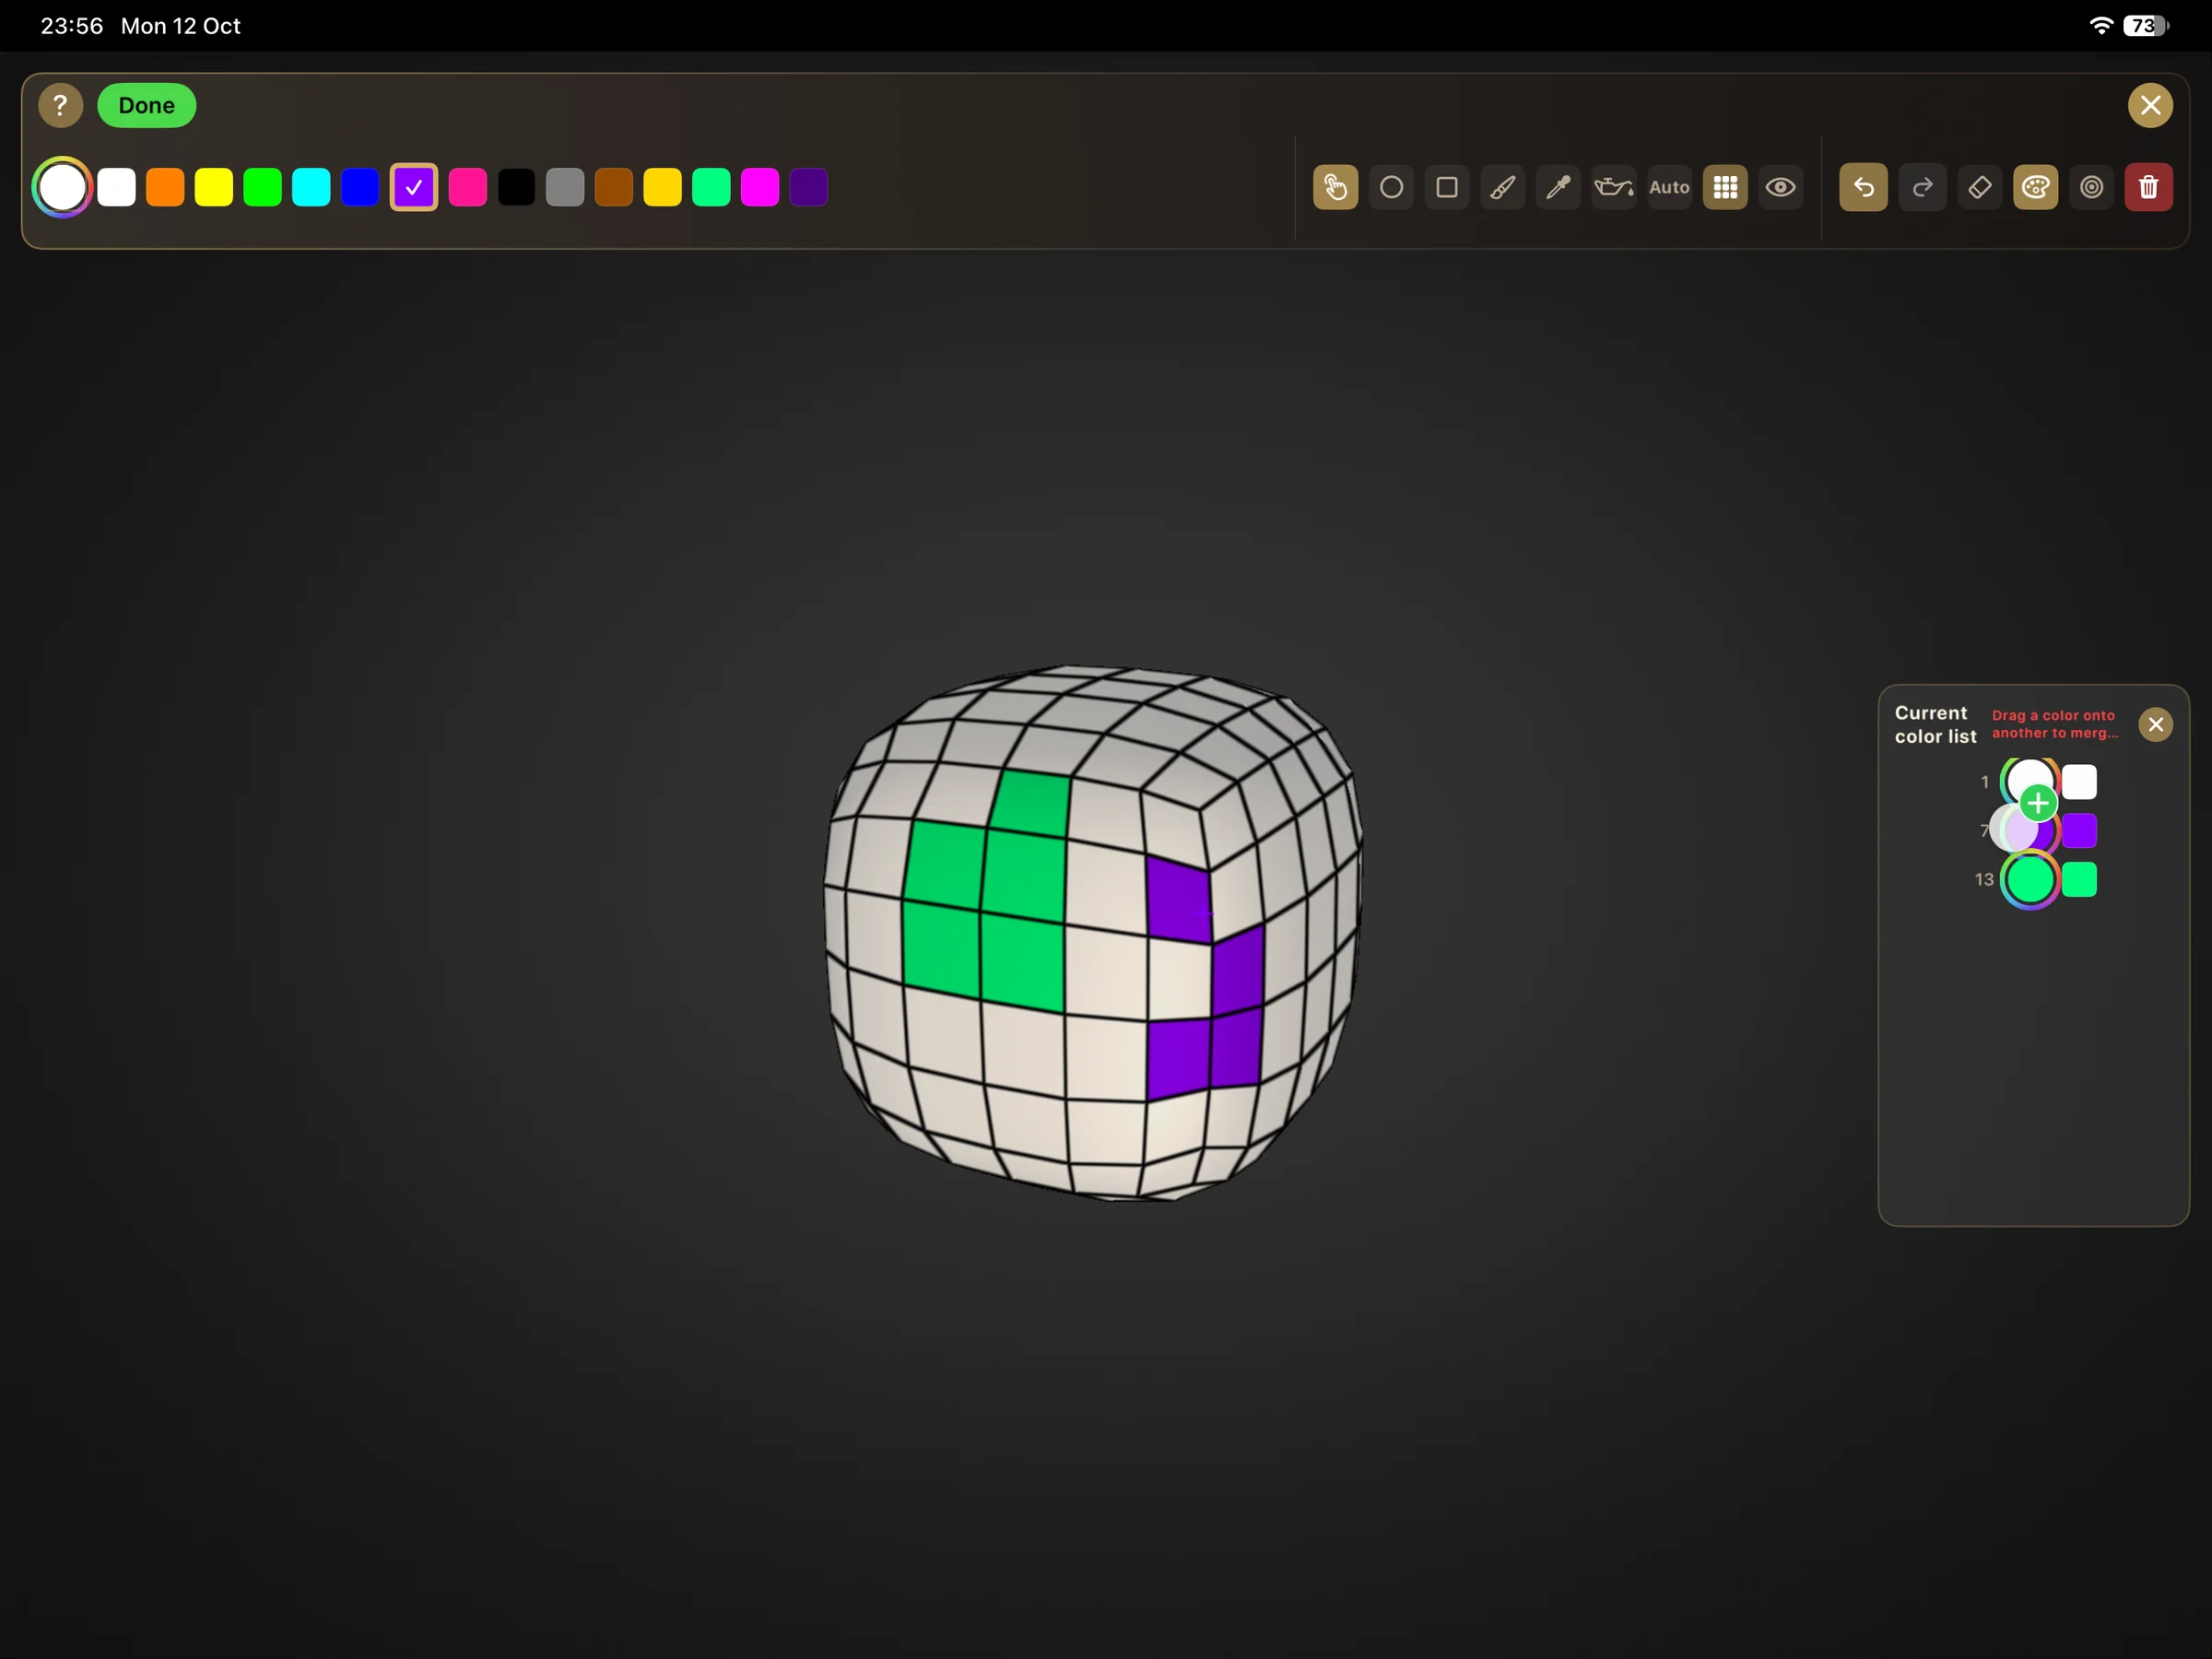
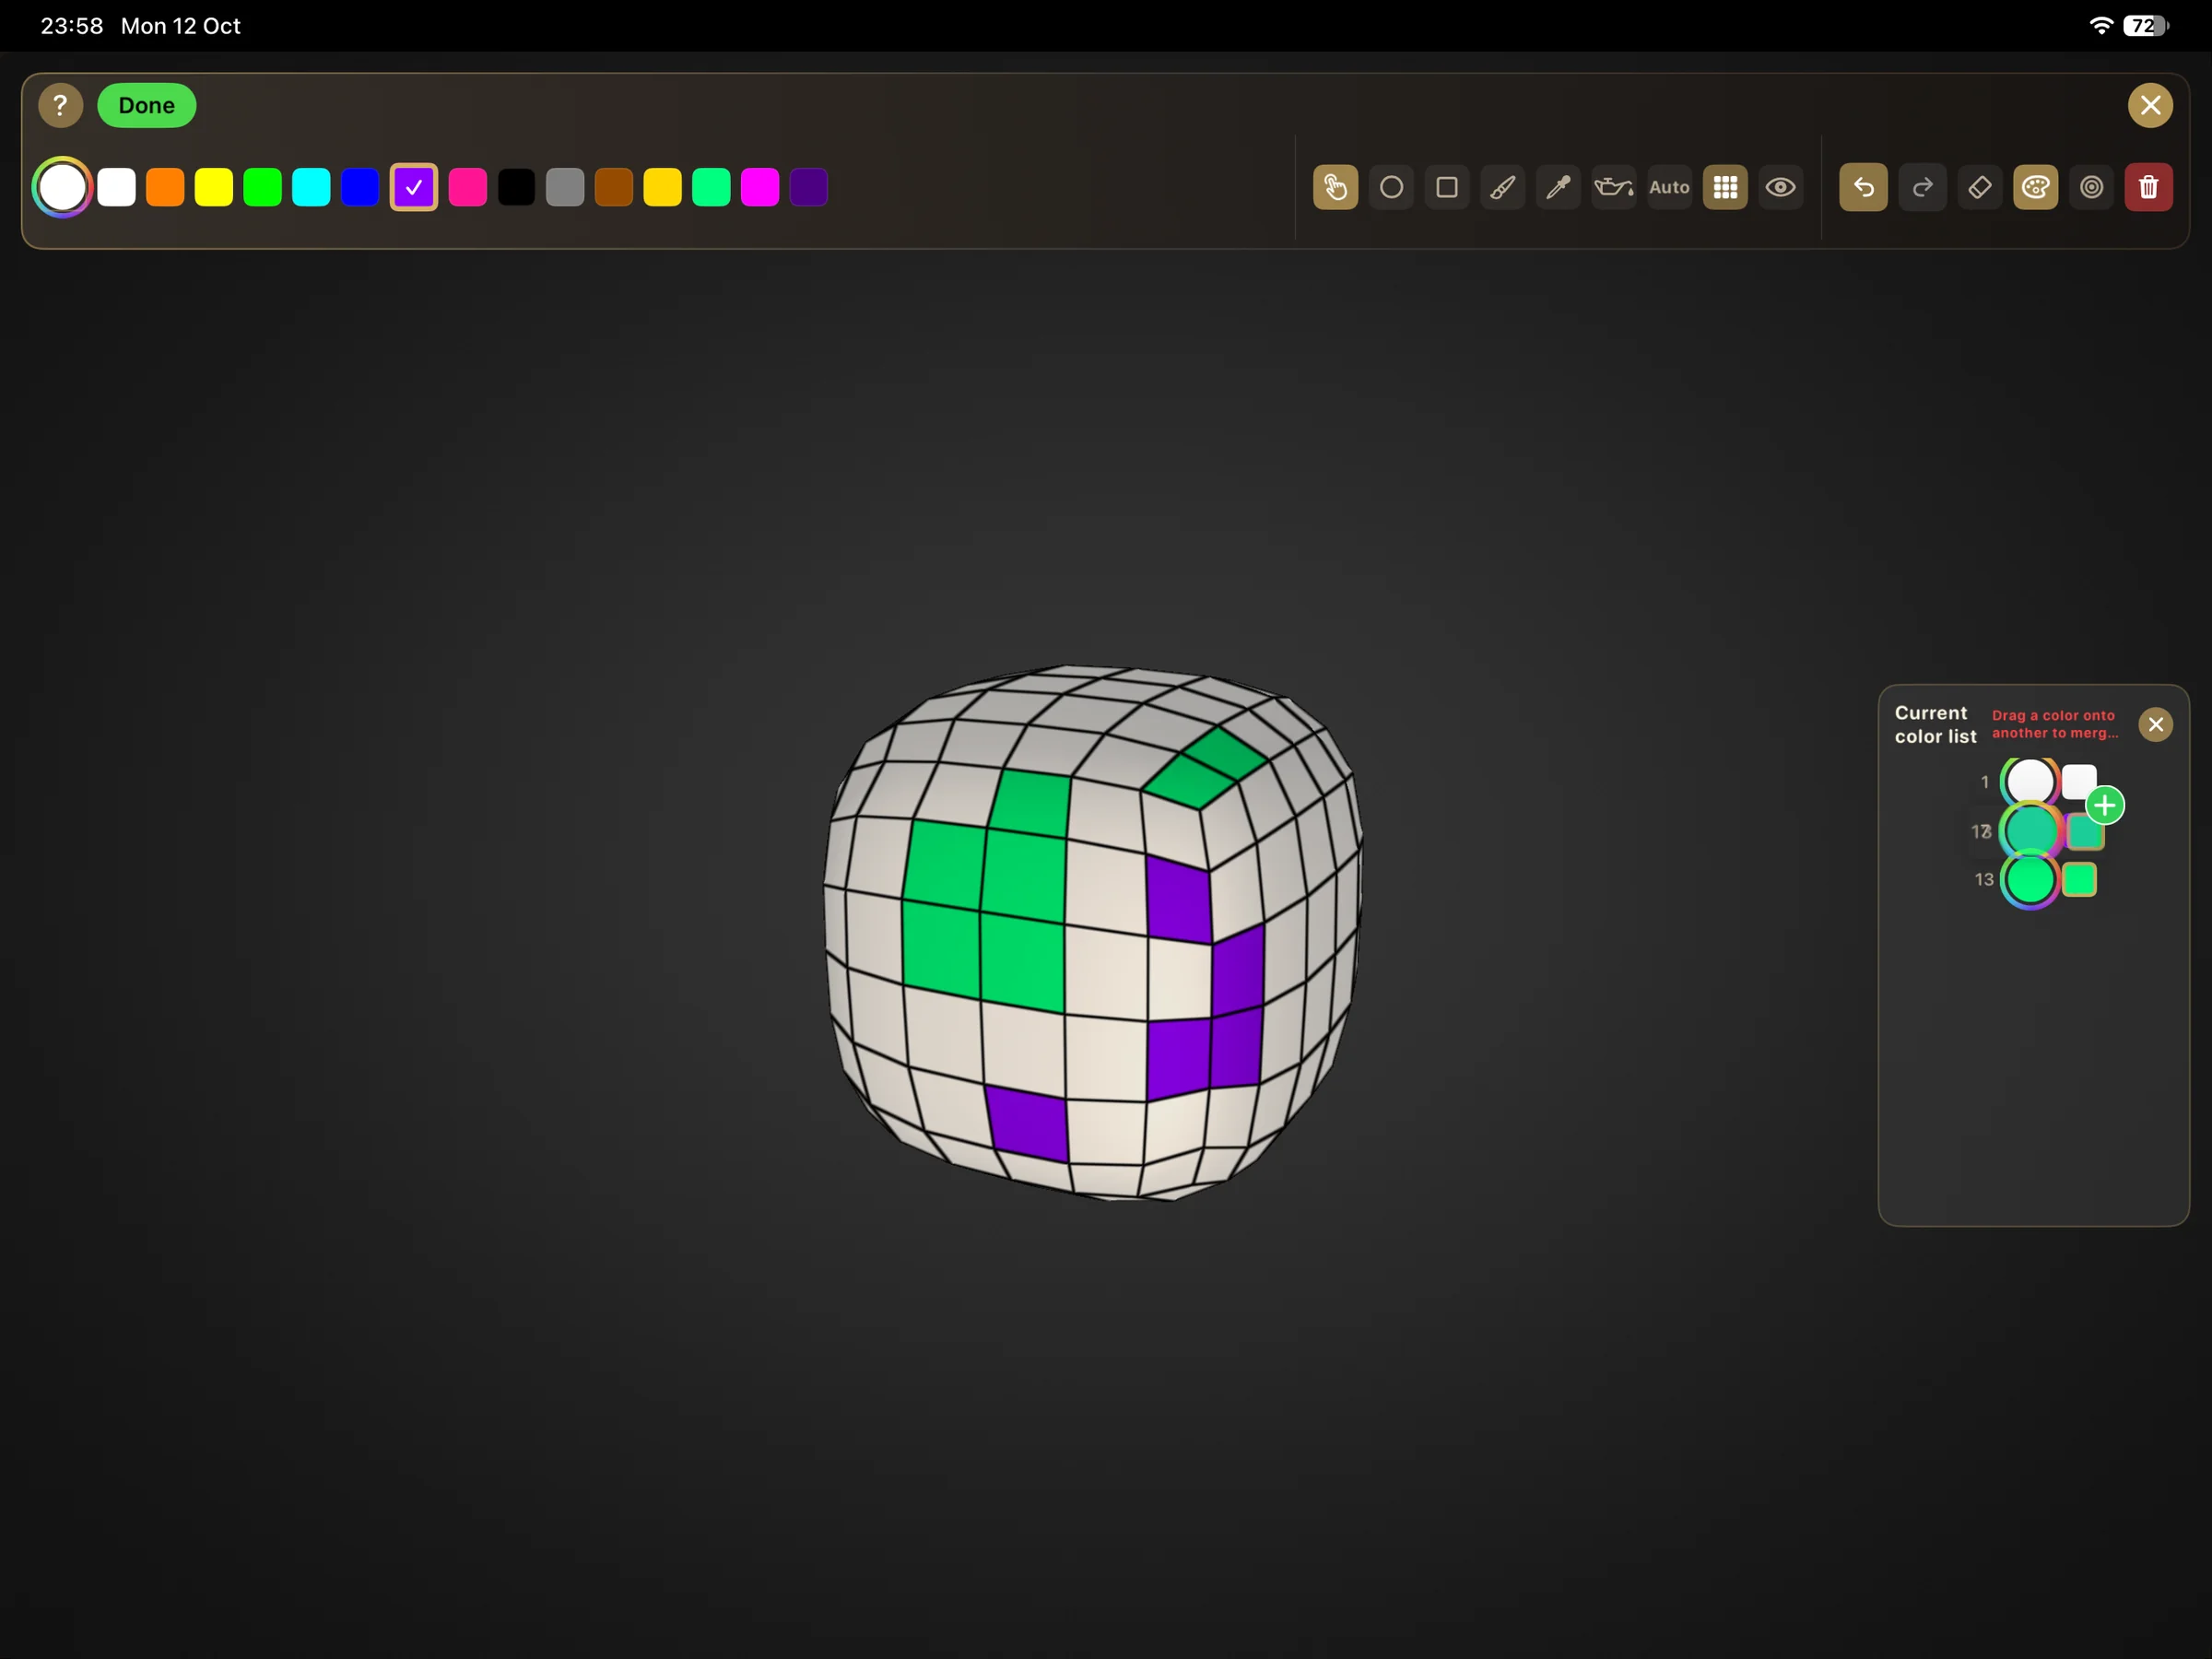
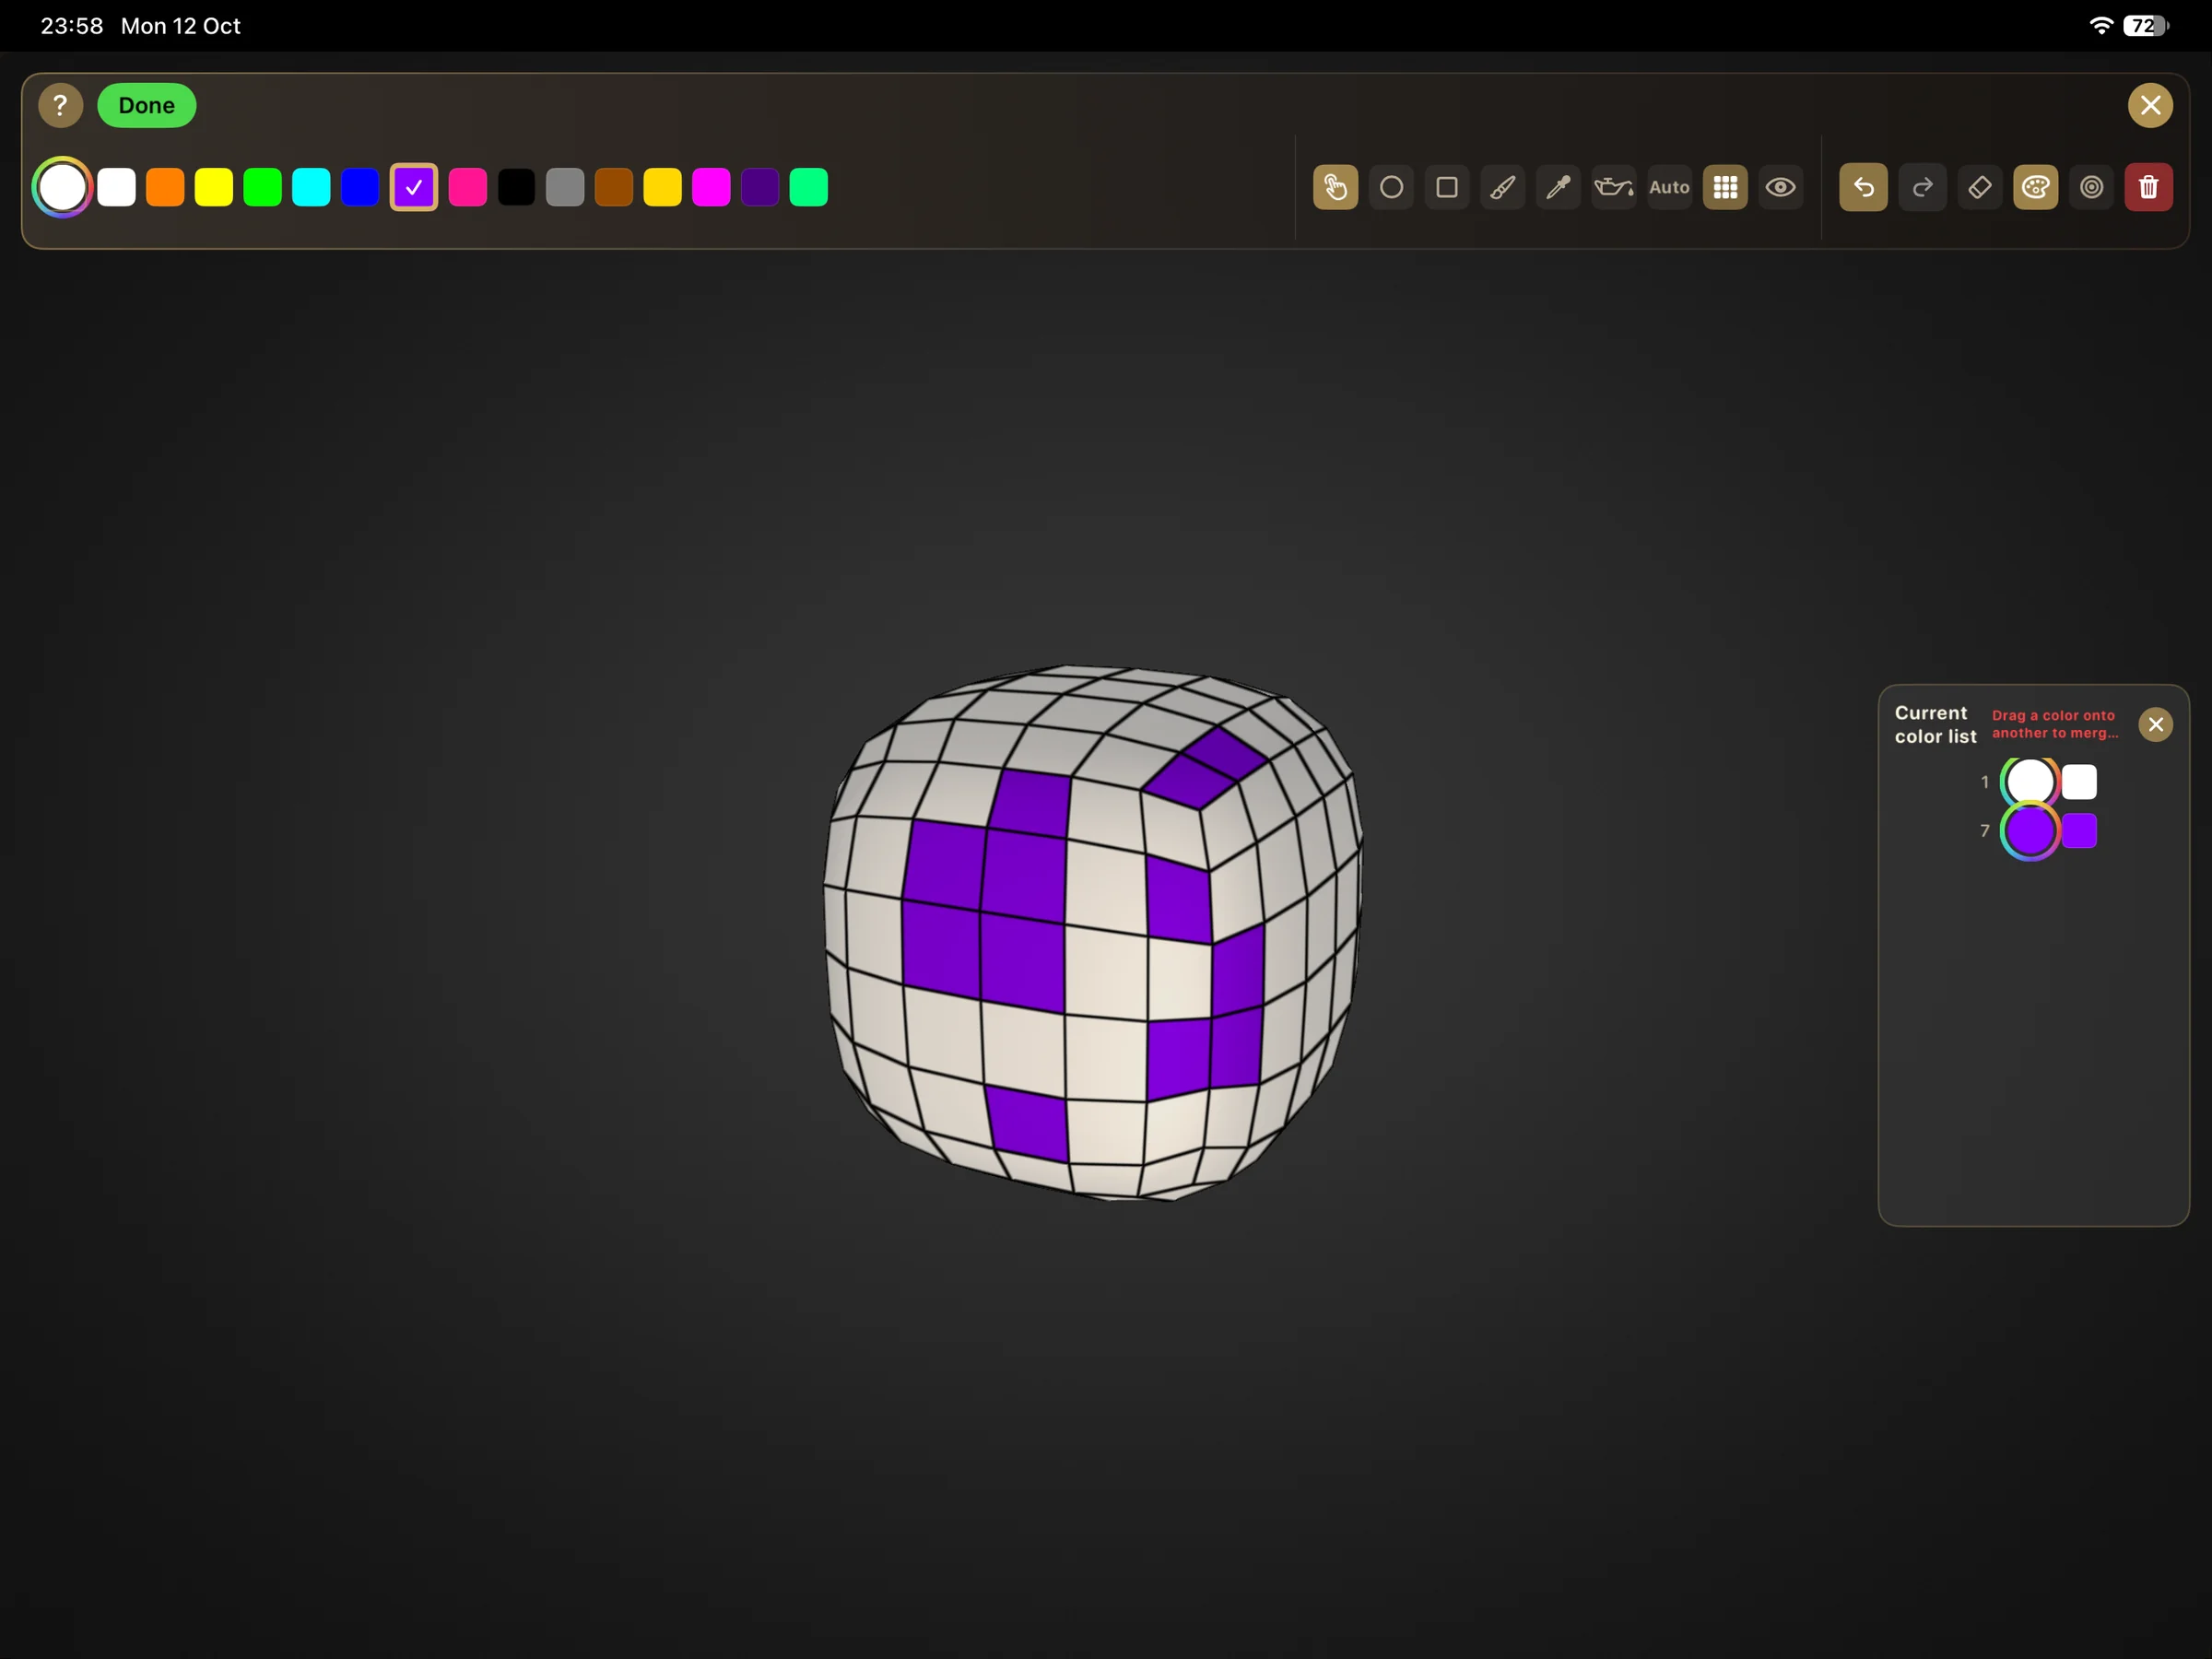
Open the Current color list. Drag the round color-picker control from the color you want to copy onto the round picker for the slot you want to recolor. All faces using that destination slot update together. You can also tap its picker to choose a new color.
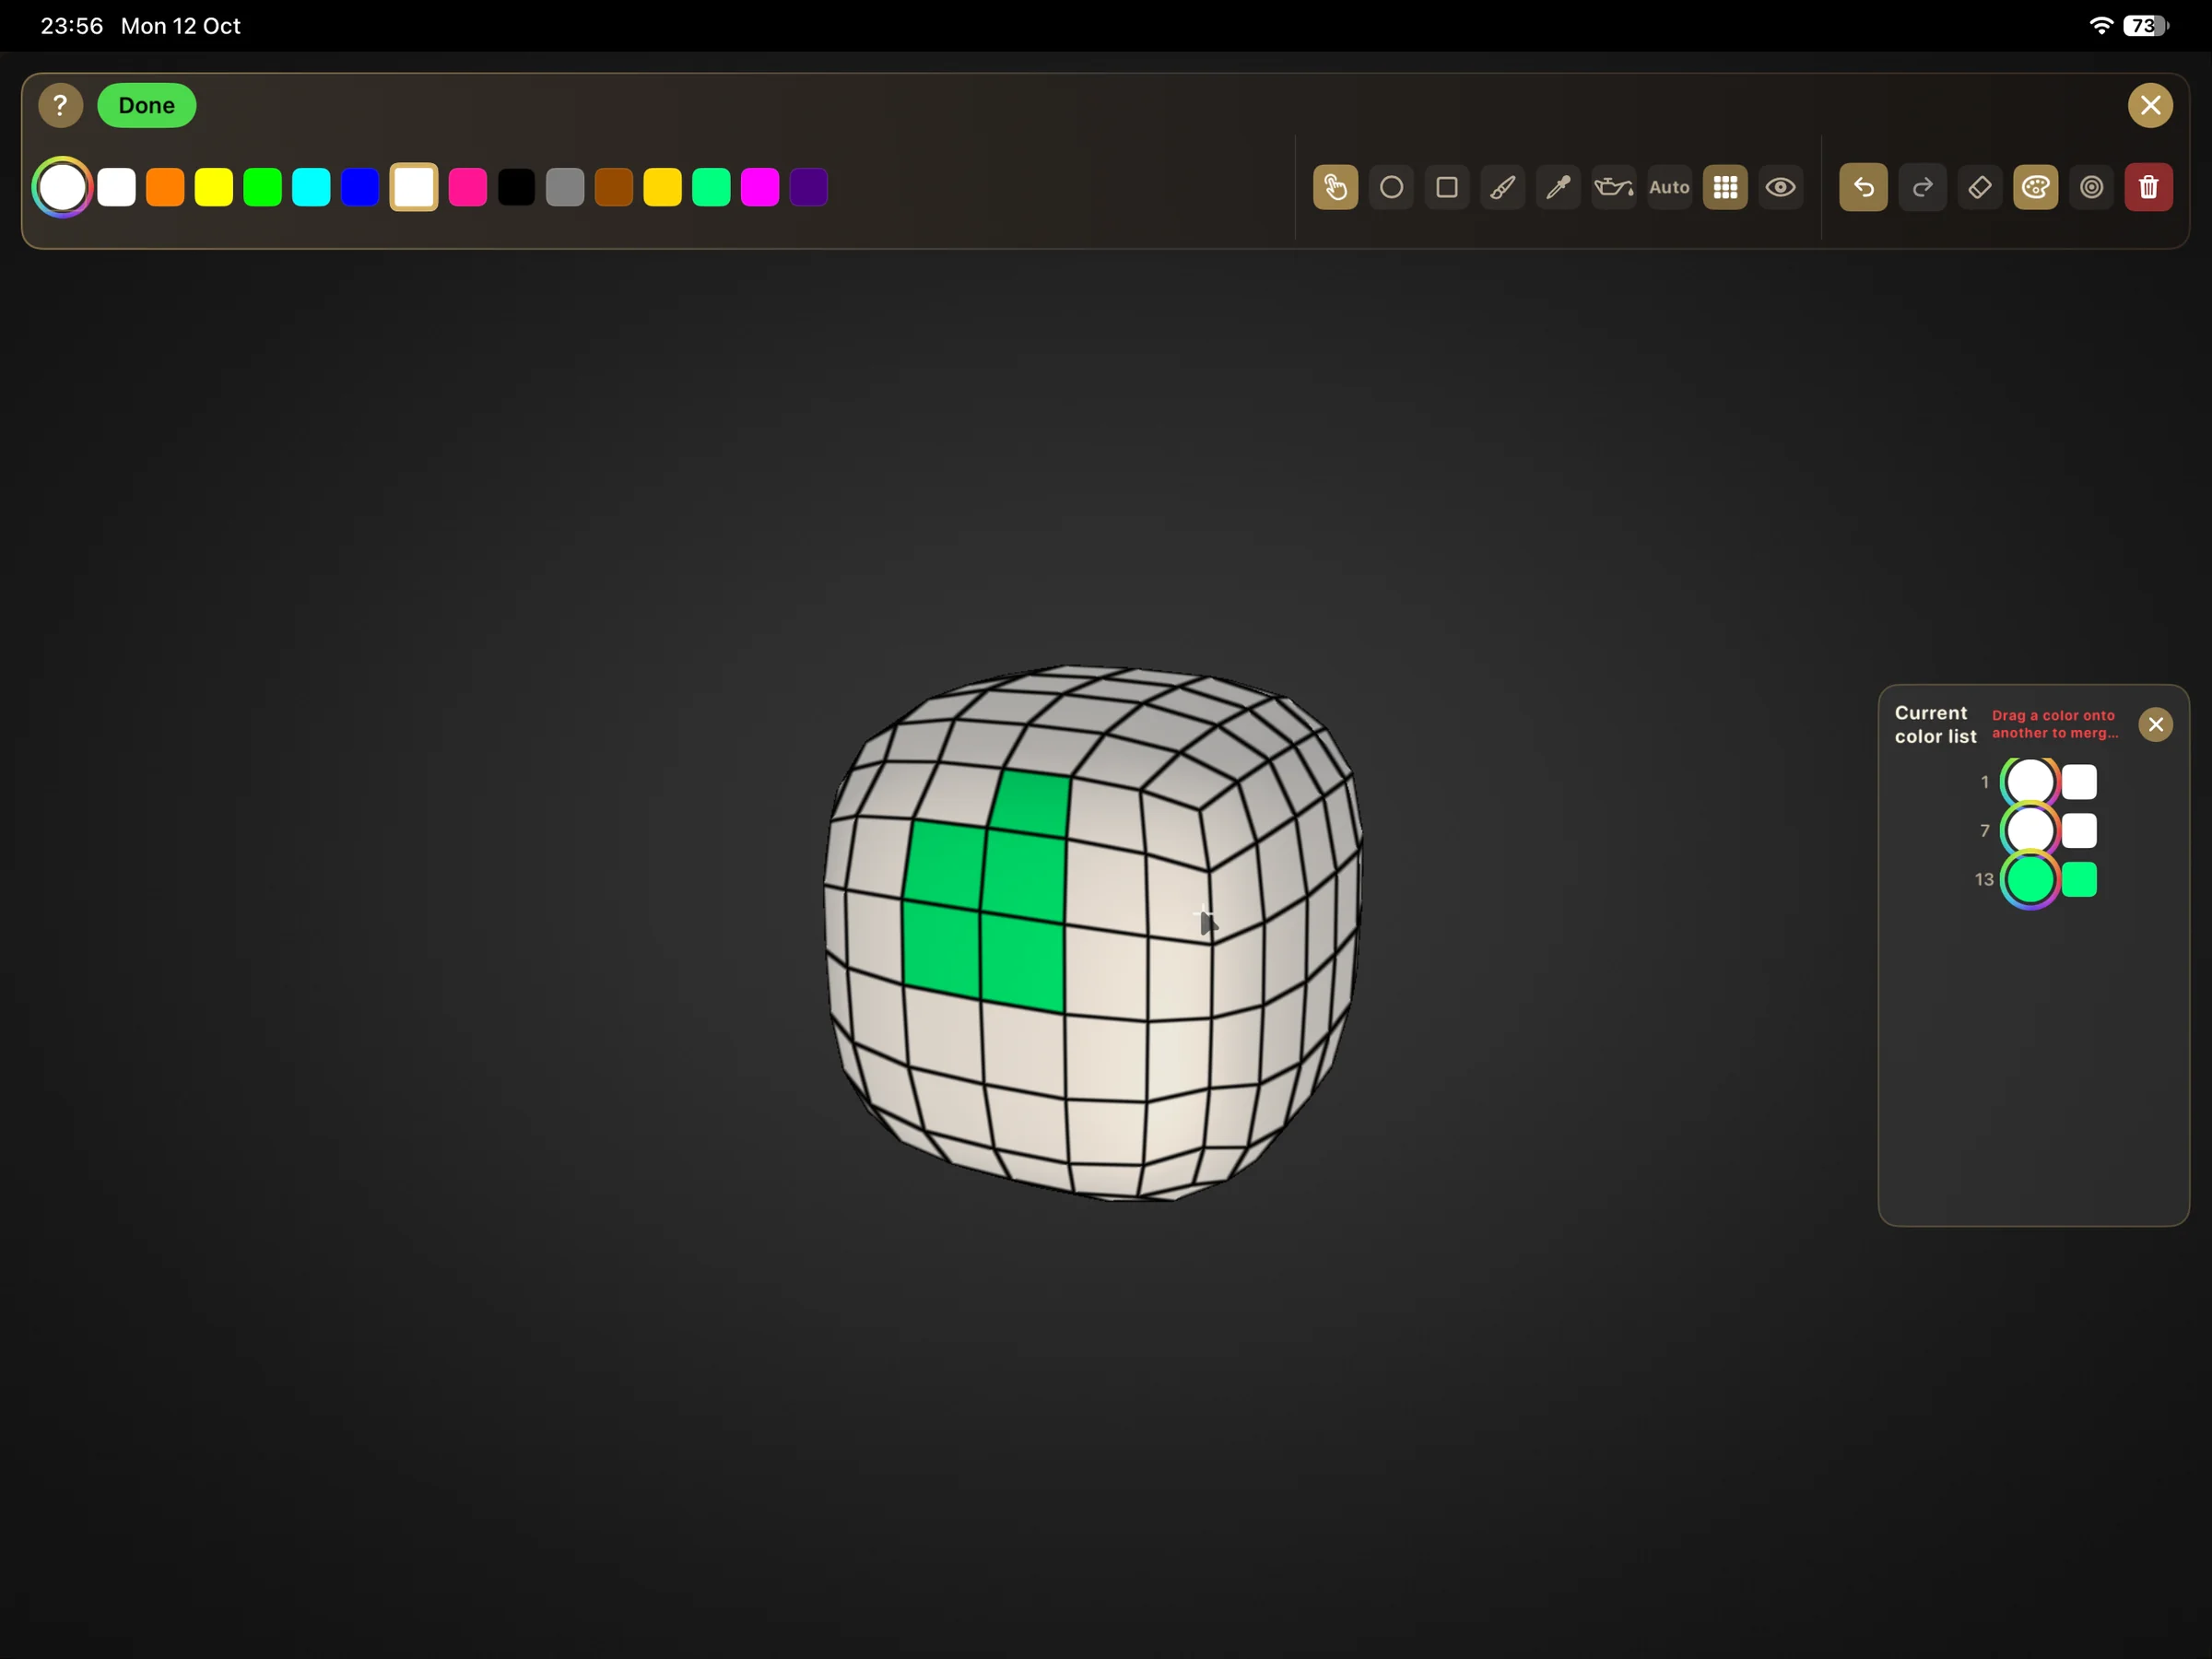
In the Current color list, drag the square swatch of the color you want to remove onto the color you want to keep. The source faces are reassigned to the destination slot across the model; the regions do not need to touch.
Note: Export and check in a slicer. Export a color-capable format such as 3MF — STL does not preserve per-face colors. Then open the file in a compatible slicer and check the material assignments there before printing; the export step itself is not covered by the screenshots in this tutorial. Finish painting with Done before exporting.
| Mode | Target counts | Use for |
|---|---|---|
| Neighboring islands | Connected painted regions | Cleaning up speckles and tiny islands by merging them into their largest neighbor |
| Nearest RGB | Used colors | Simplifying the palette by merging the two most similar colors |
No. Nearest RGB merges the two most similar colors across the whole model, regardless of adjacency. Neighboring islands is the mode that works through shared edges between painted regions.
It merges the smallest region into its largest neighbor until the target count is reached, so on a different mesh the surviving regions may differ. Disconnected regions with no shared mesh edges cannot be merged by this mode, so the requested target may not be reached. Review the result and use Undo if needed.
No — both modes repaint faces only. The mesh geometry and its topology stay unchanged.
No. Auto Paint segments a mesh into regions and assigns palette colors automatically. The modes here work on the faces you already painted, cleaning up islands or reducing the color count to a target.
Keep face colors through the export for multi-material slicer workflows.
Use painted regions to split a model into parts with alignment joints.
All the mesh-editing tools in Forma3D — selection, Boolean, cut, repair, and export.
Send the painted 3MF to a Bambu printer via MakerWorld and Bambu Handy — no desktop slicer.
In Forma3D, select faces or regions and assign palette colors, then export a colored 3MF. The per-face color data travels with the file into a compatible slicer.
Multicolor output requires a multi-filament setup — AMS, MMU, IDEX, or a tool changer. Single-filament printers will use the geometry but not the colors.
3MF stores per-face color and material data. STL carries geometry only — exporting STL after painting loses the color assignments.